Hello everyone, welcome to my GIS Tutorial blog. Today I was working on how to export shapefile to MySQL Database. Actually, I was expecting the GUI mode inside MySQL Workbench to work. But in fact, I still cannot solve the problem. You may read my previous post about the ogr2ogr tool issue in MySQL Workbench. And finally, I came up with the hard way. Uploading the spatial datasets to MySQL Database using ogr2ogr command line utility. It is not difficult but for some people, working with the command line could be a pain. But let’s try it. For a more complete list and example of ogr2ogr commands, please check out this page.
We will learn the following
- Install OSGeo4W in Windows 10
- Export Shapefiles, Mapinfo Table to MySQL Database
- Open MySQL Spatial database in QGIS
Export Shapefile to MySQL Database Using ogr2ogr Tool
Before we can actually export the file to the MySQL spatial database, we need to have the ogr2ogr tool installed on our system. The easiest way to do this is by installing OSGeo4W. OSGeo4W is a special binary distribution of many open source geospatial software for Windows. For more information, please visit their website.
Lesson 1. Install OSGeo4W in Windows 10
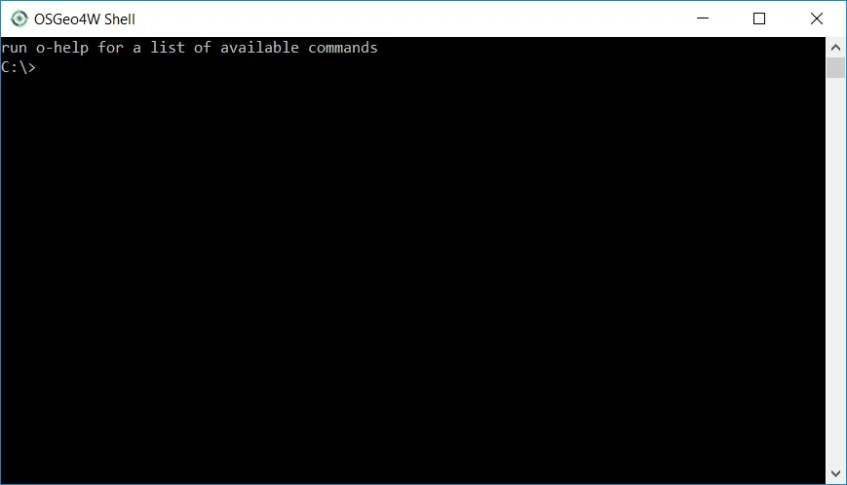
First, download the binary installation file from this link. Double-click the file and follow on-screen installation wizard until finish. Next, open OSGeo4W Shell. You can find this shortcut from Windows 10 start menu.
Check the ogr2ogr version with this command
ogr2ogr --version
Output:
GDAL 2.2.4, released 2018/03/19
Lesson 2. Export Spatial Dataset to MySQL Database using ogr2ogr
On the previous step, we have successfully installed OSGeo4W on Windows 10. Now let’s try to export some files to the MySQL database. Make sure you have the MySQL server host, username, and password in hand. The following command will export a Mapinfo Table (Cntr_UTM.Tab) to MySQL database.
ogr2ogr -f MySQL MySQL:gis_database,host=192.168.100.14,user=dhani,password=12345 d:\Contour.Tab -nln contour -update -overwrite -lco engine=MYISAM
Explanation:
- MySQL database: gis_database
- Host: 192.168.100.14
- MysQL username: dhani, password: 12345
- Souce file: D:\Contour.Tab
- Destination table: contour
Change those details with your own.
Lesson 3. Open MySQL Spatial Data on QGIS
To open the MySQL spatial table on QGIS, go to Layer | Add Layer | Add Vector Layer. Click Database on the Source type and then choose MySQL from the database type drop-down list. You will need to create a new connection if you don’t have it.
Enter your MySQL database credentials and make sure you test the connection as shown above. Your new connection will be listed in the connections list.
Click Add and you will see the table list populated from the MySQL database. See the example below.
Select the layer and then hit OK. In a moment, your MySQL layer will be visible in QGIS Canvas


Thanks, very good solution!
I am having same answer coming from my OSGeo4W shell when doing any action in gdal. In this case I was doing exactly as your example, importing something to a MySql database in local, and this is the message I recieve:
“Unable to open datasource `host=localhost,’ with the following drivers.”
And it list a very long list of names where you can read PostgreSQL and MySQL among many others is displayed as well.
I added to my system envoironment variables wher gdal is installed “C:\OSGeo4W64\bin” my case but the message is the same.
Any idea how to overcome this?
I am having same answer coming from my OSGeo4W shell when doing any action in gdal.
In this case I was doing exactly as your example, importing something to a MySql database served locally, and this is the message I receive:
“Unable to open datasource `host=localhost,’ with the following drivers.”
And a very long list of names where you can read PostgreSQL and MySQL among many others is displayed.
I added to my system environment variables the address where gdal is installed “C:\OSGeo4W64\bin” in my case but the message is the same.
Any idea how to overcome this?
Hello,
I had the same issue. Here is what I got when I had the error:
ogr2ogr -nln nyc_census_blocks_2000 -nlt PROMOTE_TO_MULTI -lco GEOMETRY_NAME=geom -lco FID=gid -lco PRECISION=NO Pg:’dbname=nyc host=localhost user=pramsey port=5432′ nyc_census_blocks_2000.shp
and here is what I got after fixing the issue:
ogr2ogr -nln nyc_census_blocks_2000 -nlt PROMOTE_TO_MULTI -lco GEOMETRY_NAME=geom -lco FID=gid -lco PRECISION=NO Pg:”dbname=’nyc’ host=localhost user=postgres password=postgres port=5432″ nyc_census_blocks_2000.shp
To point out what changed, I transformed the simple quotes after Pg: …….. into double quotes and I surrounded my dbname with simple quotes. I also added a password, which was a problem too.
I changed my username from pramsey to postgres.
I was trying to follow a postgis tutorial, that is why I did not noticed these things to change first.
I hope it would help someone!