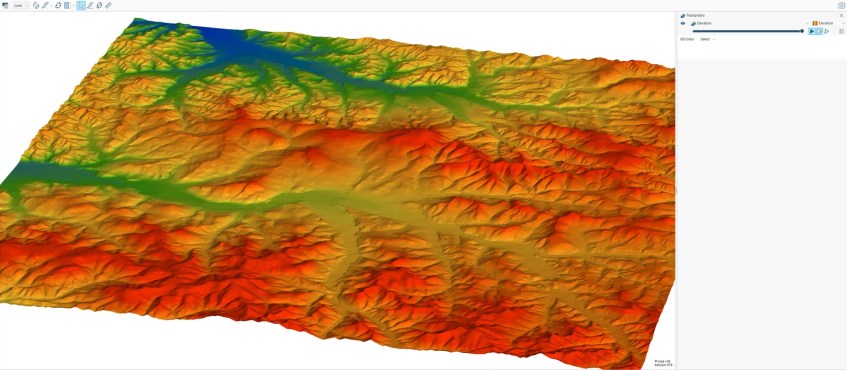
In this article, we will show you how to import Elevation Grid from Leapfrog Geo to ArcGIS Pro. In this example, I have a topography in Leapfrog Geo and we would like to use this topo in our ArcGIS Pro project. Rather than creating from the scratch, we can use the existing topo and import it into ArcGIS Pro. If you are a Leapfrog Geo user, you should have this Topography in your project. We can export that Topography into the elevation grid and open it in ArcGIS Pro.

From Leapfrog Geo, right-click the Topography and choose Export elevation grid. It will export the topography into a file with the extension .asc.
To import the elevation grid in ArcGIS Pro, follow these steps:
- Open ArcGIS Pro and start a new project or open an existing project.
- Go to the Catalog window and expand the folder where your elevation grid is stored.
- Right-click the elevation grid file and select “Export to Different Format” from the context menu.
- In the Copy raster dialog box, select the format of the elevation grid and specify any additional import options such as output raster name.
- Click the Environments tab and set the correct coordinate system
- Click Run to import the elevation grid into your project.
- The elevation grid will appear in the Contents pane and can be used in your analysis and visualization workflows.
Note: The exact steps may vary slightly depending on the format of your elevation grid and the version of ArcGIS Pro you are using.
You can watch the following video to see the entire process import the elevation grid to ArcGIS Pro.
