
Hello everyone, welcome to my QGIS Tutorial. Today, we are going to learn how to install QGIS on Ubuntu 18.04 Bionic Beaver. As you know, QGIS is available on several operating systems including Windows, Mac, and Linux. The latest version of QGIS 3.2.1 codename Bonna is now available. QGIS works very well on Linux especially Ubuntu. I have been using and testing this software on my Ubuntu powered laptop.
Steps to Install QGIS on Ubuntu 18.04 Bionic Beaver
A. Install QGIS Key
Paste this command on Terminal to add the qgis.org public key. This to avoid any GPG key error.
wget -O - https://qgis.org/downloads/qgis-2017.gpg.key | gpg --import
Then continue with this command
gpg --export --armor CAEB3DC3BDF7FB45 | sudo apt-key add -
B. Add the repository
Edit the /etc/apt/sources.list with your favorite text editor. In this example, I use nano:
sudo nano /etc/apt/sources.list
Then, copy and paste the following lines
deb https://qgis.org/debian bionic main
deb-src https://qgis.org/debian bionic main
C. Update and Install QGIS
Now update repository and install QGIS with this command
sudo apt update && apt install qgis python-qgis qgis-plugin-grass
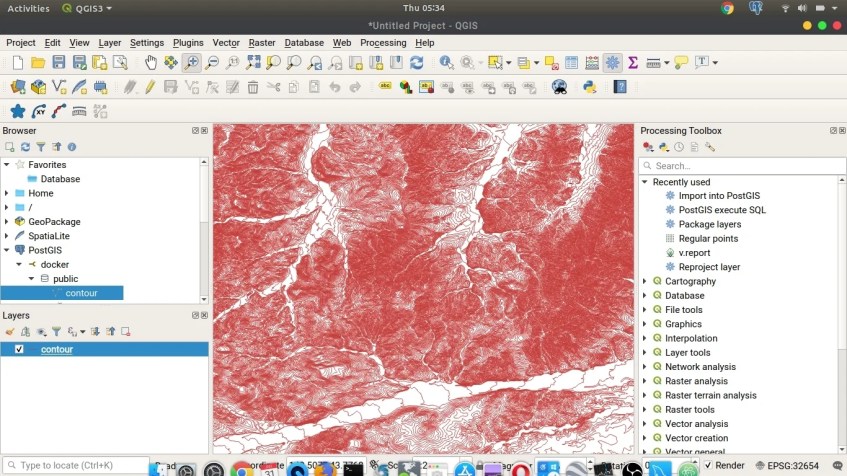
Now you can start using QGIS.
[…] how to open Excel file in QGIS. I am using QGIS version 3.4.2 on Ubuntu 18.10. You may want to read how to install QGIS on Ubuntu 18.04. It’s pretty similar to open Excel file in ArcGIS. QGIS supports Excel (.xlsx, .xls) as well […]