So the new version of macOS Sonoma is now on Public Beta version. If you want to try out the MacOS Sonoma public beta on your Mac, the process is quite straightforward. But it’s important to be aware of the potential risks and challenges that come with running beta operating systems, as it might not stable enough and may contains bugs. In this article, I am going to show you how I update my macOS Ventura to the new macOS Sonoma. I installed my macOS Ventura on Parallels Desktop on my MacBook Pro M1.

Before we proceed the update process, it is recommended to back up our Mac just in case bad things happen. In order to get the Beta update, we need to enroll the Apple Beta Software Program. By registering, we will be able to get the Beta update on our Mac.
Step to Update macOS Ventura to macOS Sonoma
Step 1. Enroll Apple Beta Software Program
Visit the link below and then log in with your Apple account to open the Apple Beta Software Program.
https://beta.apple.com/enroll-your-devices

If you are running macOS 13.4 or later, click Open Software Update button on that page. And then go to System Settings>General>Software Update and click the info button and choose the macOS Beta from the list.
If you are running macOS 13.3 or older, you can download the macOS Beta Access Utility below.
https://beta.apple.com/download/1017280
Tips:
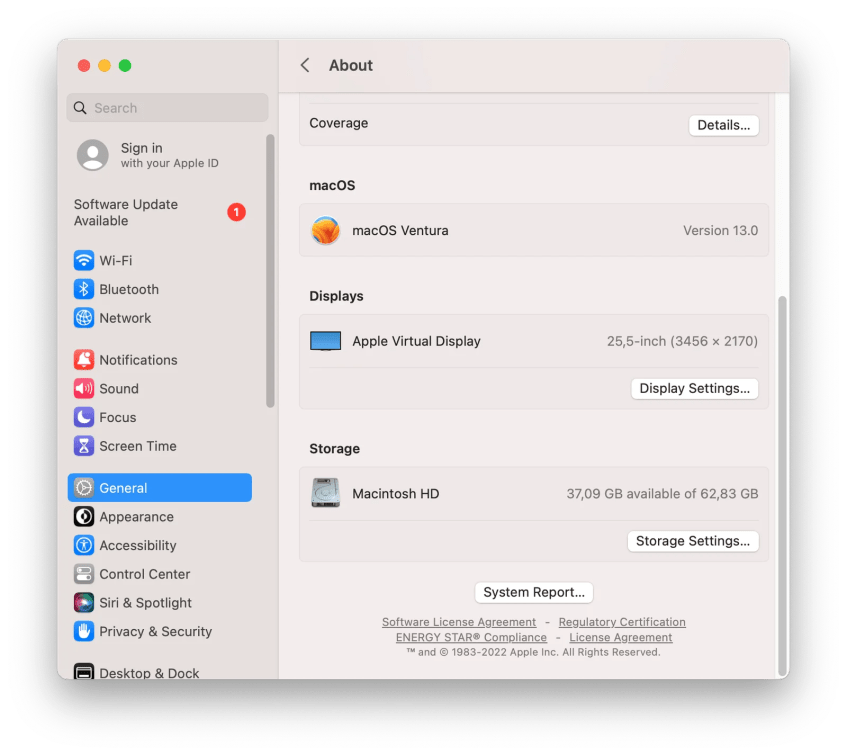
To check which macOS version you have, go to System Settings | General | About. You will see your macOS version there.

Step 2. Download macOS Sonoma
After you enable the Beta version or install the Beta Utility, you will see the new Sonoma Beta is available as shown below.

Click Upgrade Now and the download process will start.

This process will download around 12.5 GB from the internet. Make sure you have a good internet connection.

Now follow the macOS Sonoma Beta installation process. Enjoy the new macOS Sonoma Beta.
