PostGIS is a great spatial database that supports various GIS applications such as Mapinfo Professional, Global Mapper, ArcGIS, QGIS and many more. In this article, I am going to show you how to export layer to PostGIS on Mapinfo Professional. I assume you already have a working PostGIS database that you can access. If not, you may want to read my previous tutorial on how to install and configure
In this example, I am going to export a vector layer to my PostGIS server. First, we need to create a PostgreSQL ODBC connection. Please read this article to find out how to create a PostgreSQL ODBC connection on Windows 10. Once you have created a new ODBC Connection, open Mapinfo Professional.
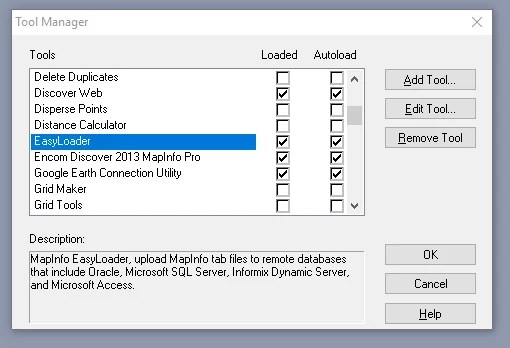
We are going to use EasyLoader tool. You will need to enable this tool first. Go to Tool | Tool Manager. Scroll down and you should see EasyLoader on the list. Make sure its loaded and you may also want to enable autoload feature.

Now open the Easy Loader tool. It should be accessible from Tool | EasyLoader. From its main window,

No select the ODBC data source/connection and click OK.

Once you select the data source you should see the data source (DBMS) connection in the EasyLoader. Next, click Source Table to choose the table you want to export to PostGIS.

Give a name on the Server Table Name and you can choose the server table processing option. Click Upload to start uploading the layer. You will see the following message when the upload is successful.

That’s it. Thanks for reading this article and I hope you enjoy it. See you in the next tutorials.
