In this article, we will show you how to set the Z value from a Raster in QGIS. In other words, we will drape the points to the raster (elevation grid raster, SRTM, DEM). At the end of this exercise, we will have a point layer with Z values generated from the raster. This method is similar to the one I explained previously, you can check my other article How to get point elevation from surface grid in QGIS. But here, we will use a different tool to achieve this goal.
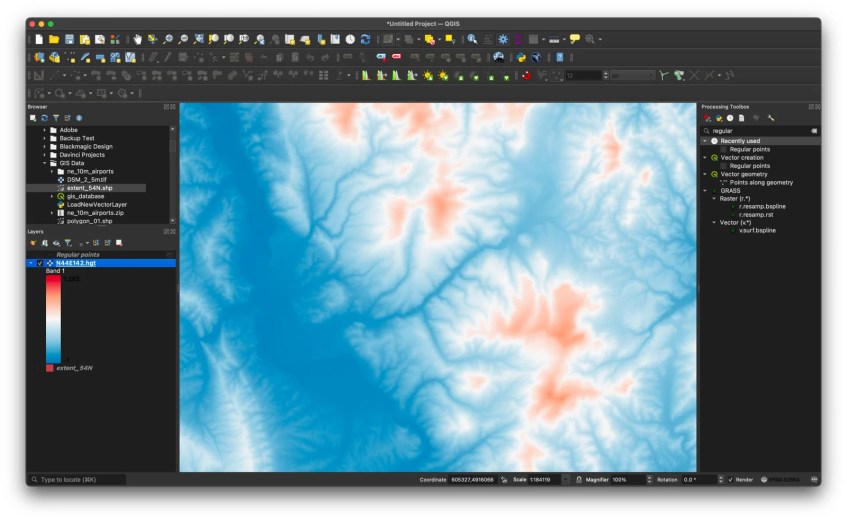
We will get the elevation from SRTM data. First, you will need to download the SRTM and load it into QGIS.

Now we can open or create a regular point layer in QGIS. Load your layer or create a new regular point at a specific interval in QGIS. Below is the location of my point layer.

Now let’s drape these points onto the SRTM. Search for Drape (set Z value from raster) from the Processing Toolbox in QGIS.
Specify the input layer (the point layer) and then select the Raster layer. Optionally, we can set the output layer, otherwise, QGIS will create a temporary layer called Draped. Click Run to start the draping process.
Generate the Z (elevation) attribute
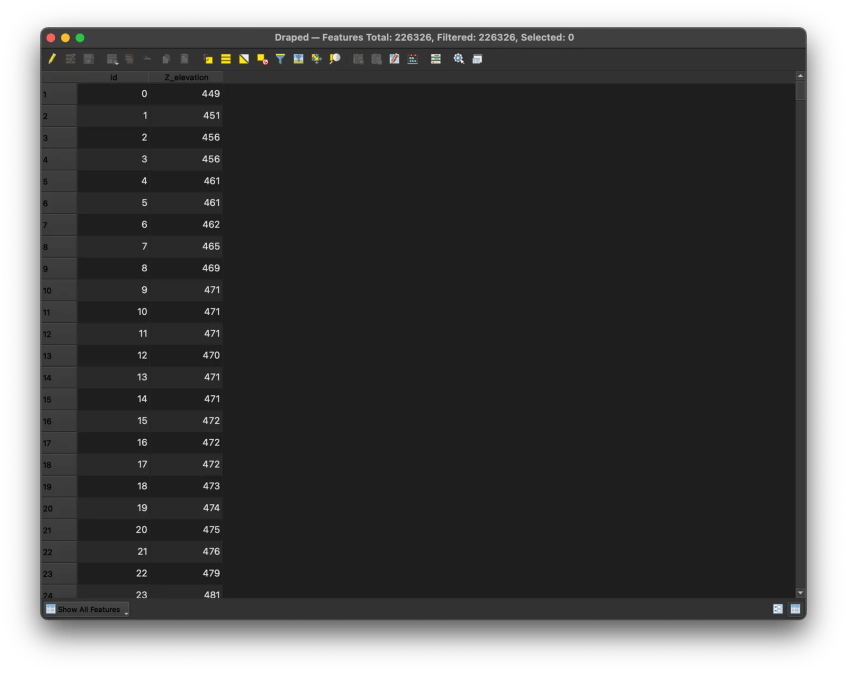
Once the draping process is completed, open the Draped layer attribute. You will not see any Z layer there yet. Now we can easily create a new column or field which contains the Z values.
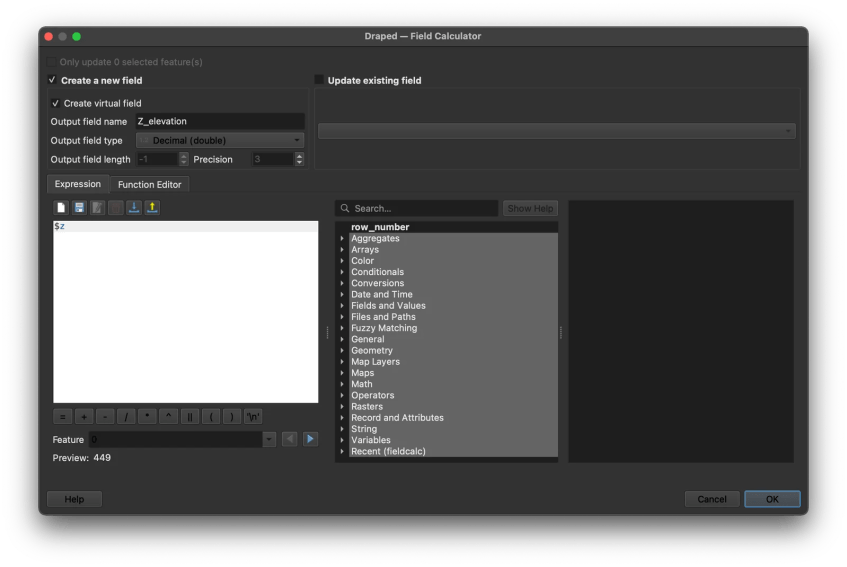
Select the Draped layer and then click Field Calculator
Check the Create virtual field option, set the output field type to Decimal (double) and then type the following in the Expression.
$zThe expression will generate Z values from the point data. Now open the attribute again and you should see the new field with the elevation.

Now we can make this Draped layer permanent for future use. Right-click the Draped layer and click Make Permanent. Specify the file name and format.

This is the final result after applying some symbology colors to the point layer.

Thanks for reading this article. See you in the next tutorial. For more information, please visit the link below.


