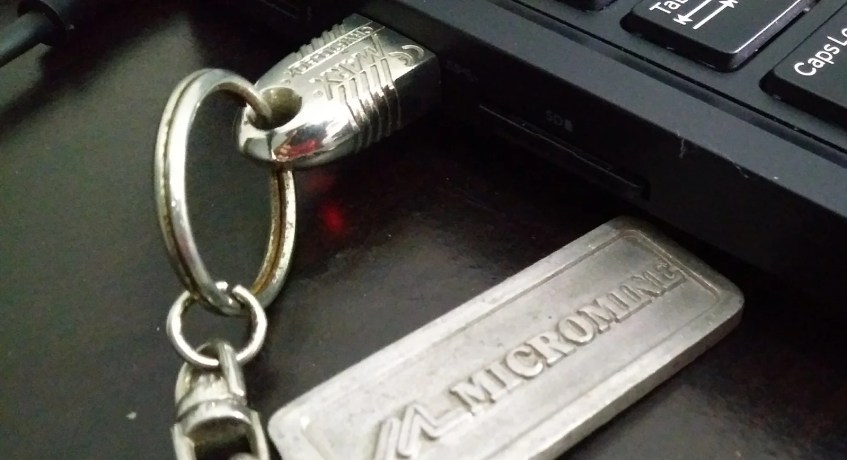
Hello everyone, welcome to Micromine Tutorial. Today we are going to learn about the user interface of Micromine. I am using Micromine version 14.0 (Year 2013). Yes, I know it’s a bit outdated but it still a great version and still usable. Not like many other software, Micromine uses a special USB cryptobox (dongle) to run. It also needs a valid license key that match with the dongle. That’s why it is very hard to get the cracked version of Micromine. And we do not recommend to use cracked version for software.
Micromine at a Glance
Micromine is a well known mining and exploration software. It has modules for exploration, mining, resource estimation, wireframing. It’s very easy to use Micromine. It supports various file types, and also compatible with other GIS software such as Mapinfo, Surpac, Datamine and many more.
USB Cryptobox
Micromine 2013 Interface
There may be many interface update since this 2013 version. But the main functionality and usability should be similar.
The Micromine user interface is very easy to learn. On the top toolbar, you will see many tools you can use to open file, change the views, section tools. To customize the toolbar, right click on the toolbar area and then activate or deactivate tools you need.
Vizex
Vizex is the main area where we can display our data, string, drill hole and many more.
Vizex Forms
On the left side, you can see Vizex Forms. On this area you can see many expandable tools that can be used to display various data to Vizex. Double click item from Vizex Forms to display on Vizex.
There are still many tools on Micromine but we will cover these tools during our tutorial. Please stay tuned to get more Micromine tutorial. Cheers


hi, nice site by the way.. i just passing by and enjoy reading your tutorial as I am currently learning micromine. I think it would be great if you also adding video in order to deliver your work (tutorial) in more detail…
thank’s in advance
nice and very useful tutorial by the way.
It is nice to repeat the details of micromine again. I have learned in the university but needed to remember the details. Thanks for sharing
Omer Cenk Guven
Hey, fantastic tutorial. really enjoyed it.
By the way, im currently learning micromine and this has helped me greatly.
I plan on becoming a geologist one day, but not yet.