
Hello everyone, welcome to another QGIS tutorial for beginners. In this article, we will learn about Python in QGIS. We will start with a pretty basic python on QGIS. We can do so many things with Python in QGIS. Python and QGIS are a great combination. It is great for us to start learning how to use Python code in QGIS. We will start with how to add a vector layer to QGIS using python code. It is good to read the official documentation for QGIS Python.
In the following article, we will add a point layer (shapefile) to QGIS. You can download the shapefile that I use in this tutorial from the link below.
Extract the file and save it to your folder. Now let’s open QGIS. Start with a new blank project. And then open the Python window. You can go to Plugins | Python Console. Now you should have the following window on QGIS.
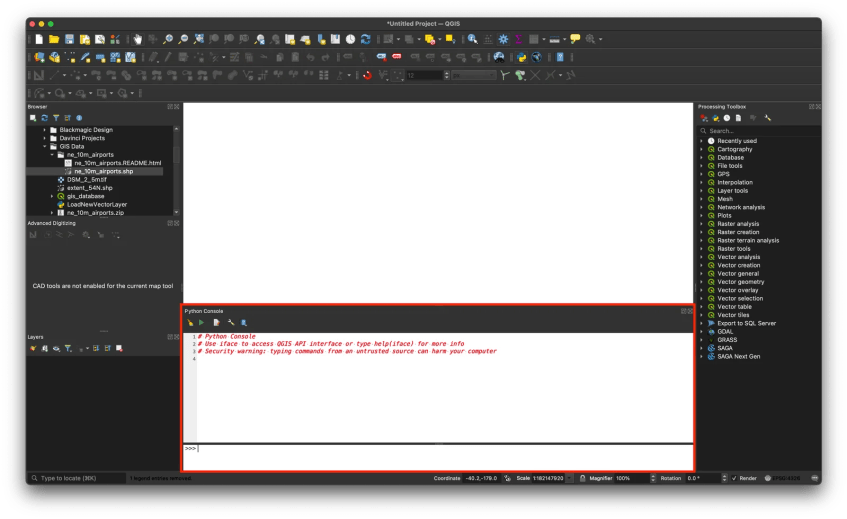
We will write our Python code in this console. We will try to open a shapefile using python. Write this code to get started
MyPoint = "/Users/dhani/Documents/GIS Data/ne_10m_airports/ne_10m_airports.shp"
iface.AddVectorLayer(MyPoint, "Airports", "")
The command above will load the file ne_10m_airports.shp into QGIS canvas. We call this layer “Airport”. You can change this to any name you like.

For more complete code, you can also call the layer without assigning a variable first:
iface.addVectorLayer("/Users/dhani/Documents/GIS Data/ne_10m_airports/ne_10m_airports.shp", "Airports", "ogr")Now you should see the layer Airports shown on QGIS canvas.

Done. That’s it. Thanks for reading this Python basic for QGIS. See you in the next tutorials.