In this article, we will guide you on how to install the PostgreSQL database on Ubuntu 23.04 Lunar Lobster. PostgreSQL, also known as Postgres, is a popular open-source relational database management system that boasts a powerful implementation of the SQL querying language. As a standards-compliant database, it adheres to established guidelines, making it compatible with other systems and software.
PostgreSQL database offers many advanced features, including reliable transactions and concurrency without read locks, that make it a top choice for enterprise-level applications. Additionally, PostgreSQL is highly customizable, allowing users to extend and optimize its functionality to fit their unique needs. With its robust features and flexibility, PostgreSQL is a go-to database management system for businesses and developers alike.
Steps to Install PostgreSQL on Ubuntu 23.04
Before we continue, I assume you have installed Ubuntu 23.04 on your PC, server, or virtual machine.
Step 1. Install PostgreSQL
#Update system
sudo apt update && sudo apt upgrade

#install postgresql
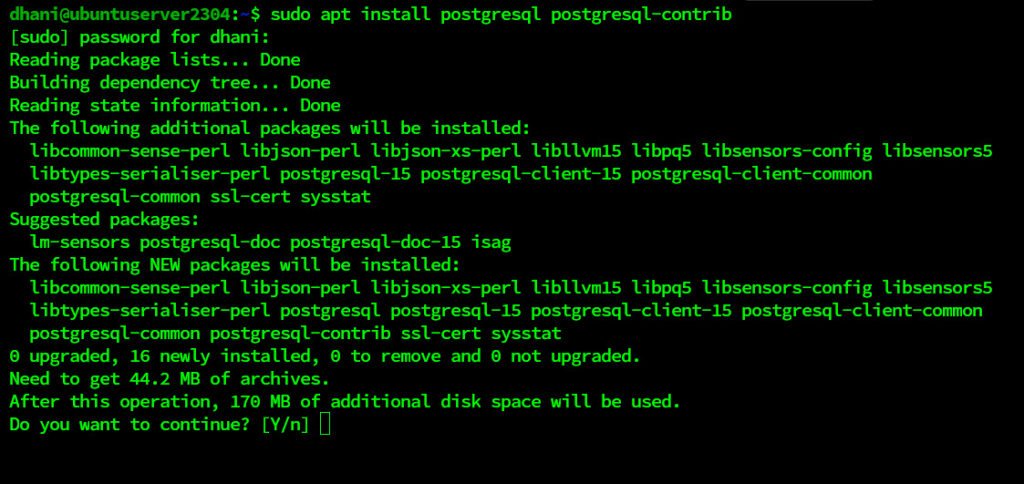
sudo apt install postgresql postgresql-contrib
Output

Start PostgreSQL service and check the status
sudo systemctl start postgresql
sudo systemctl status postgresql

#Output example:
dhani@ubuntuserver2304:~$ sudo systemctl status postgresql
● postgresql.service - PostgreSQL RDBMS
     Loaded: loaded (/lib/systemd/system/postgresql.service; enabled; preset: enabled)
     Active: active (exited) since Wed 2023-05-03 13:56:03 UTC; 3min 17s ago
   Main PID: 6729 (code=exited, status=0/SUCCESS)
        CPU: 820us

May 03 13:56:03 ubuntuserver2304 systemd[1]: Starting postgresql.service - PostgreSQL RDBMS...
May 03 13:56:03 ubuntuserver2304 systemd[1]: Finished postgresql.service - PostgreSQL RDBMS.
Step 2. Enable Remote Connection
By default, PostgreSQL is only accessible from the local host. If you want to enable the remote connection, we need to do the following steps.
Edit postgresql.conf
#Edit postgresql.conf file
sudo nano /etc/postgresql/15/main/postgresql.conf

#Find the following line
#listen_addresses = 'localhost'

#Uncomment and change localhost to *
listen_addresses = '*'
Edit pg_hba.conf
sudo nano /etc/postgresql/15/main/pg_hba.conf

#find this line
# IPv4 local connections:
host    all             all             127.0.0.1/32            scram-sha-256

#Change it to
host    all             all             0.0.0.0/0            scram-sha-256
Now restart PostgreSQL Service
sudo systemctl restart postgresqlStep 3. Create a New User and Database
The following picture will illustrate how to create a new user and new database in PostgreSQL. Adjust the name to suit your need.
Now we have a fully working PostgreSQL Server and it is accessible from the network. See you in the next tutorial.


