In this article, we will show you how to generate contour form a DEM in ArcMap 10.8.1. Generating contour from a DEM in ArcMap is a very easy and simple task. As long as we have the DEM or elevation grid already, then the rest process will be easy. If you don’t have the DEM or elevation grid, you can create your own DEM from the point layer.
You can follow my previous guide to create DEM from the point layer using the link below.
Now, we are good to go.
Steps to Generate Contour from DEM in ArcMap
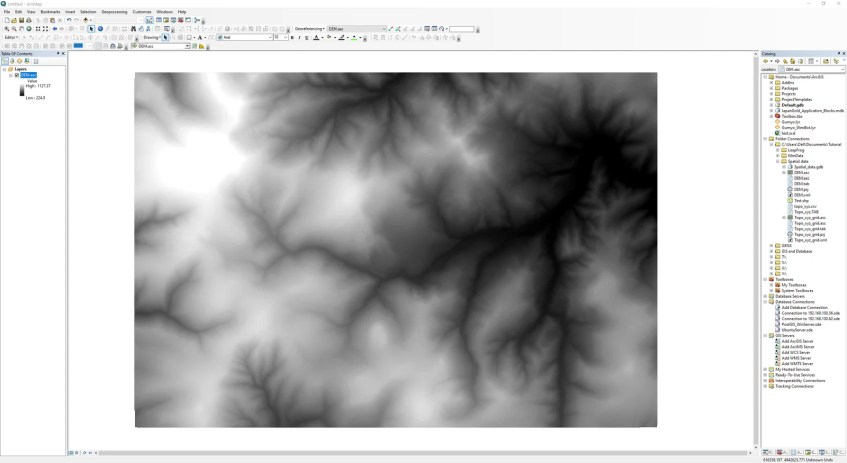
Open ArcMap and then load the DEM layer to ArcMap window. Please make sure you have the 3D Analyst license. Otherwise this method will not available for you.

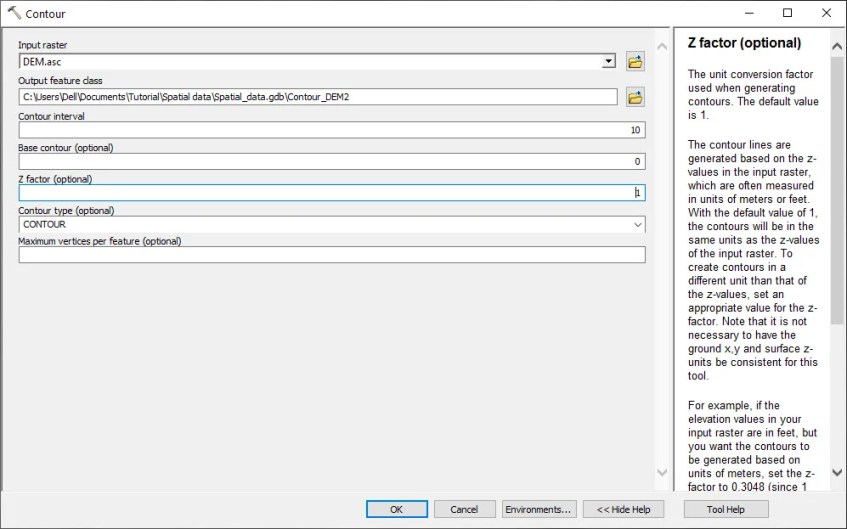
Now go to Arc Toolbox >> 3D Analyst Tool >> Raster Surface >> Contour

From the Contour window, please specify the Input raster (the DEM), output feature class, contour interval as well as contour type. Click OK and the process will start in the background.
When the contouring process is completed, ArcMap will automatically load the contour output.

As you can see, now I have the contour 10m interval shown on ArcMap as a new layer. That’s it. Thanks for reading this article how to generate contour from DEM in ArcMap. I hope you enjoy it and see you next time.
