Hello everyone, welcome to ArcGIS Online Tutorial. In this article, we are going to show you how to start creating a new map using ArcGIS Online. As you might know, ArcGIS Online is a great piece of service that allows us to create maps without having to install the dedicated software on our computer. It requires a web browser and internet connection. Off course, you will also need to have a valid ArcGIS license.
In this article, I will only show some general approach to ArcGIS Online. I will discuss more details for each feature in the future posts.
Steps to Create a New Map using ArcGIS Online
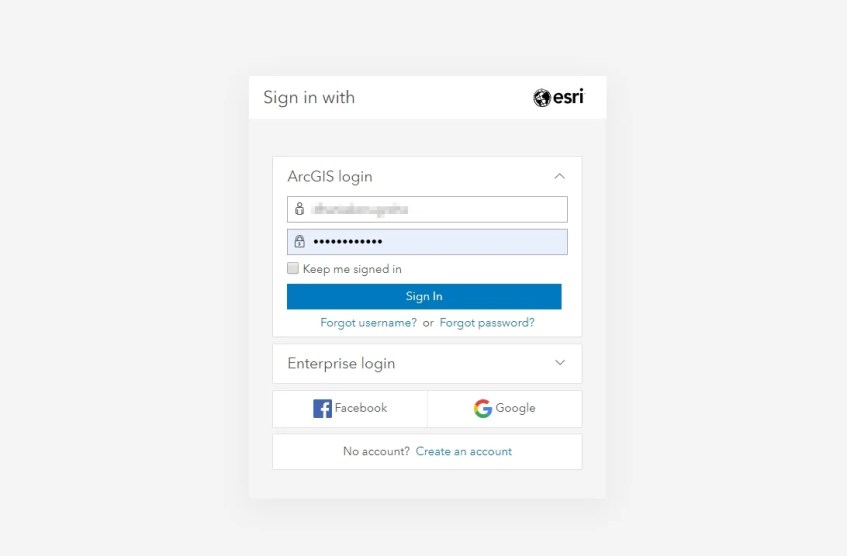
First, log in to the ArcGIS Online website and then use your login credential.
Once you log in, click Map from the top menu.

And then you should see the following window appear on your screen.
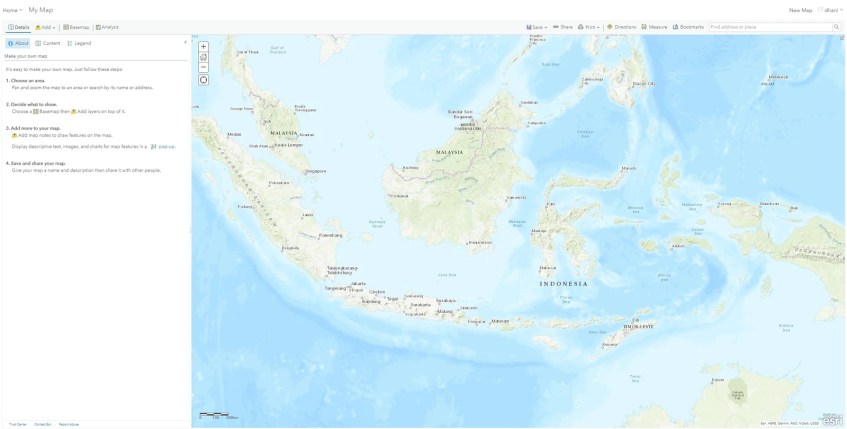
Usually, you will see the default topographic map as shown above. Next, you can drag the map to any location you want. To change the map, click Basemap and choose the base map you like. For example, I change it to the satellite.

To zoom in and out, use your mouse scroll. Click and drag the map to your preferred location.
Add More Layers to the Map
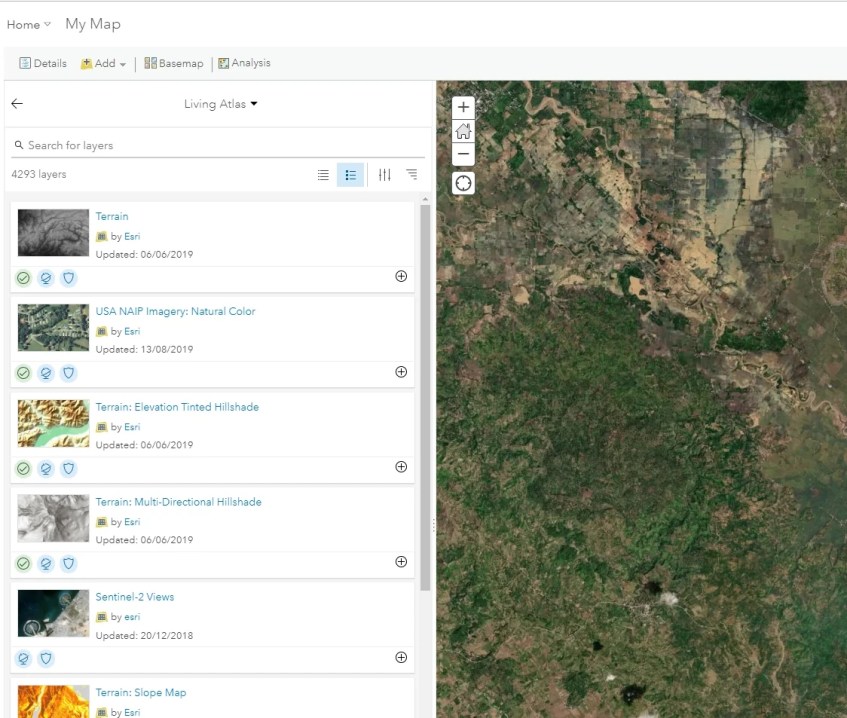
You can add more layers and data to your map by clicking the Add button. Select the layer source from the list. ArcGIS Online supports various data source. You can add layers from your local file, add layer from the web or you can also search and add living atlas layers.
Layer Control
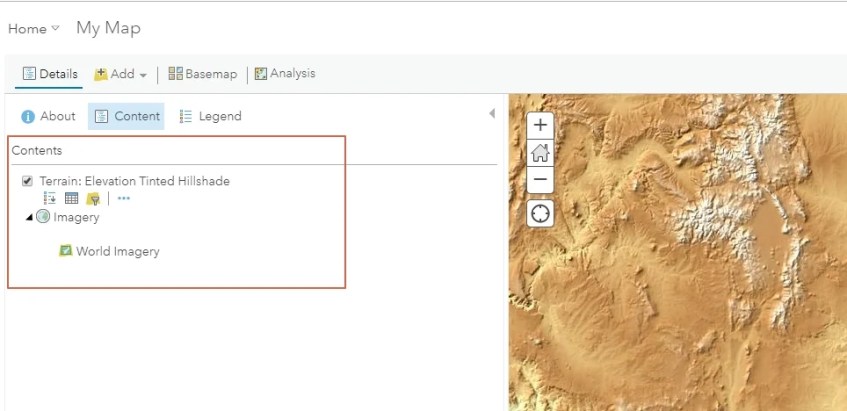
In ArcGIS Online, you can control any opened layers from the Content tab. Go to Details >> Content. Sort or reposition your layers by dragging it.
Save the Map
To save a map in ArcGIS Online, click the Save button at the top.
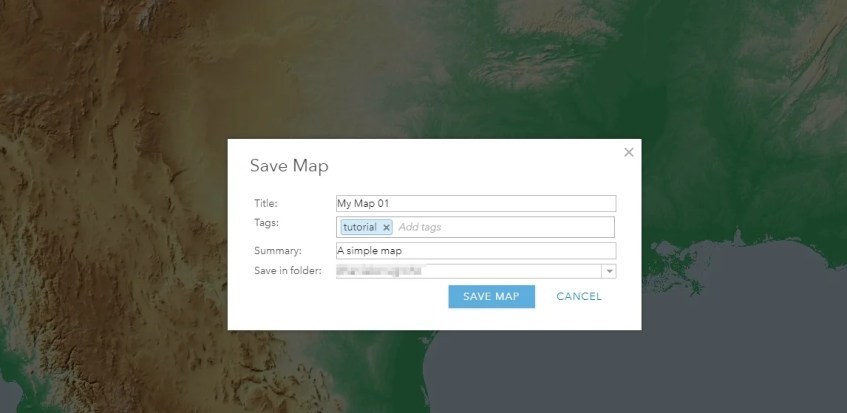
Enter the required information such as title, tags, and description. Click Save map to permanently save the map.
Share the Map
Click the Share button and choose how you will share the map with the others. You can post it on Facebook, Twitter or embed the map on your website.
