Welcome to MapInfo Professional tutorial for beginners. In this article, we will learn how to create DEM from points in MapInfo Pro. DEM (Digital Elevation Model) is a 3D computer graphics that is a representation of elevation data of the terrain. For more information about DEM, please read this Wiki page. DEM can be generated from many sources. We can produce DEM from a contour file, or we can also create it from the survey points.
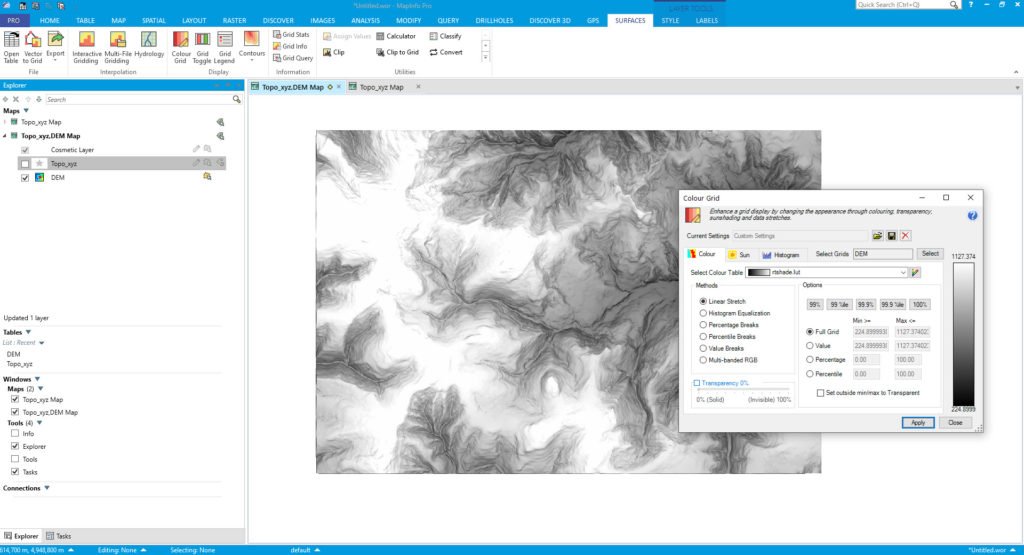
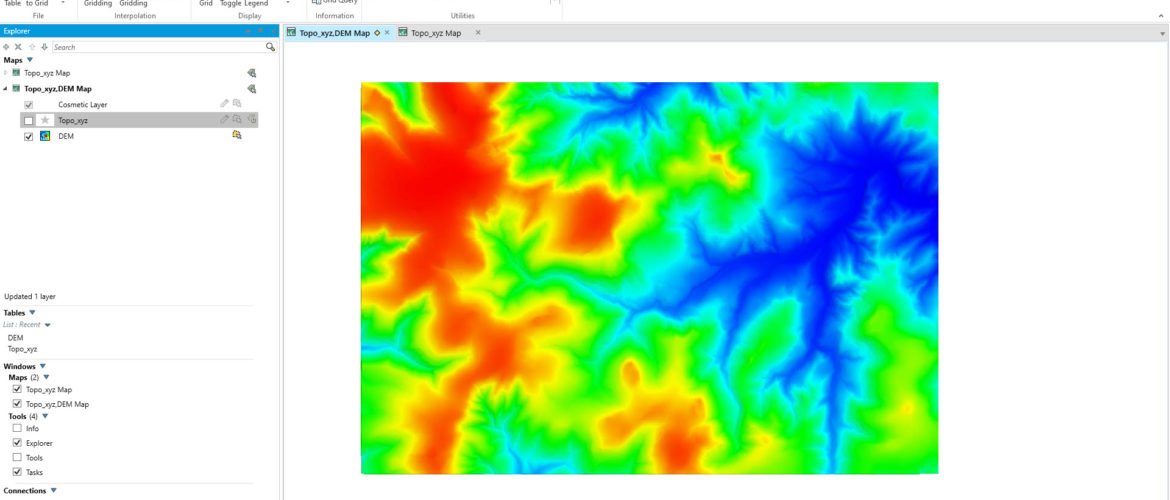
In the end of this tutorial, you will be able to produce your own DEM file from data points. It will looks like this one:
Steps to Create DEM from Points in MapInfo Pro
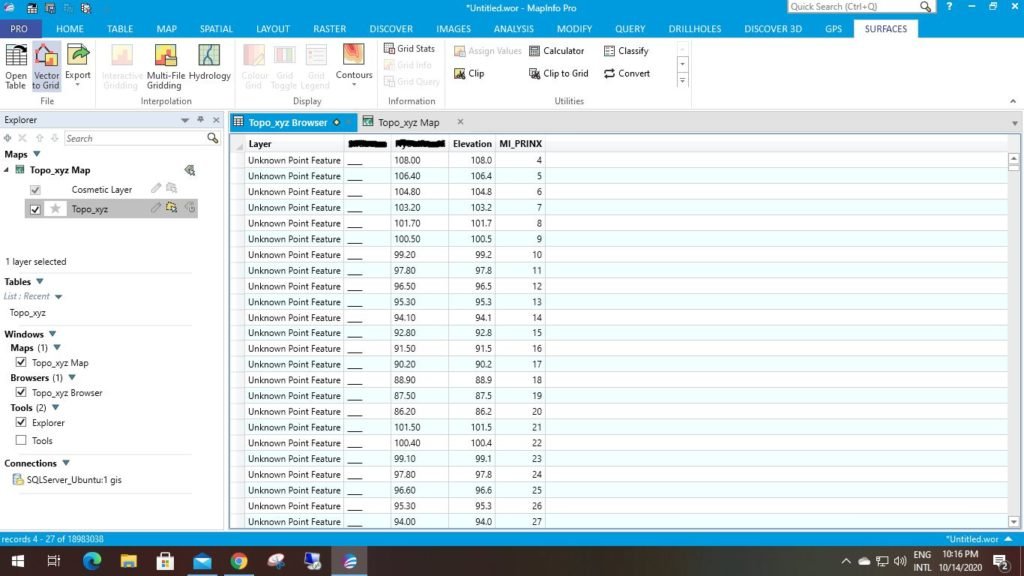
In order to create the DEM, we need a point layer which contains the X,Y and Z (elevation) data. And then, we need to create points from this data set.
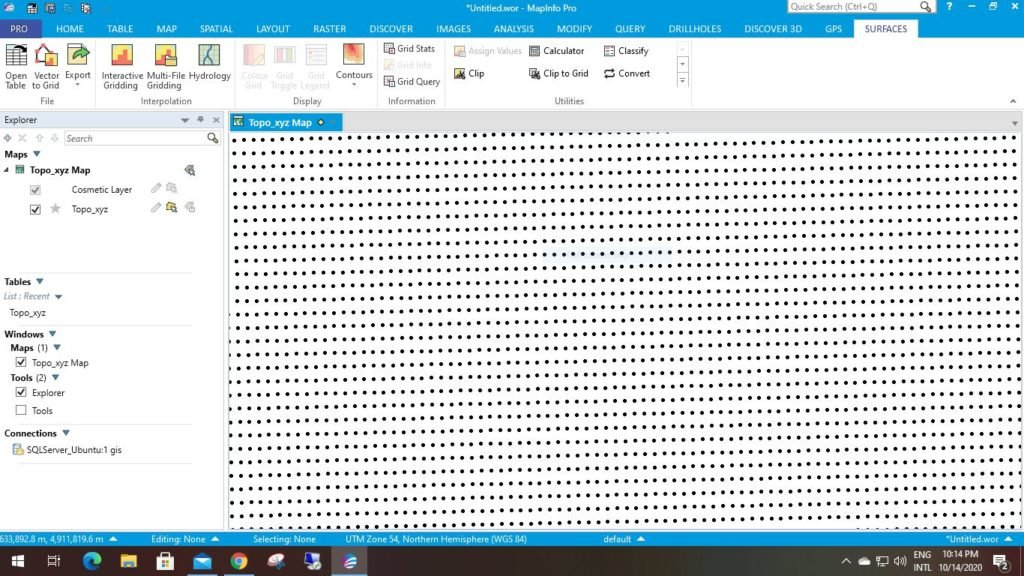
As you can see, I have a point layer which contains regular points (10m interval). Each point has the elevation information.
Now we are ready to create the DEM.
Go to Surface tab and then click Interactive Gridding. Select the layer/data to be used for the gridding. The Interactive Gridding window will open up.
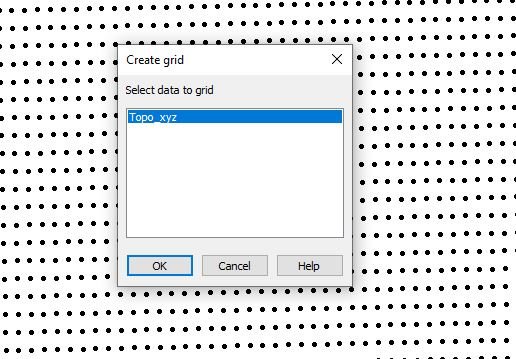
The new version of MapInfo Pro 64 bit comes with better supports for raster/grid creation. It can handle huge data points and also the Multi-File Gridding feature allows us to grid multiple files at once.
From the Interactive Gridding window, choose the elevation field from the input data.
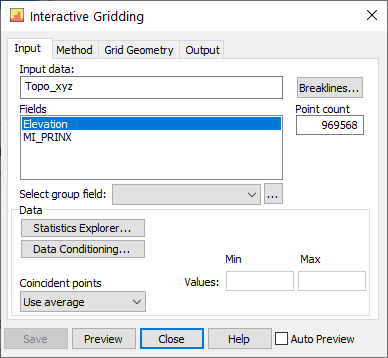
Click Preview button if it’s not automatically produce the preview.
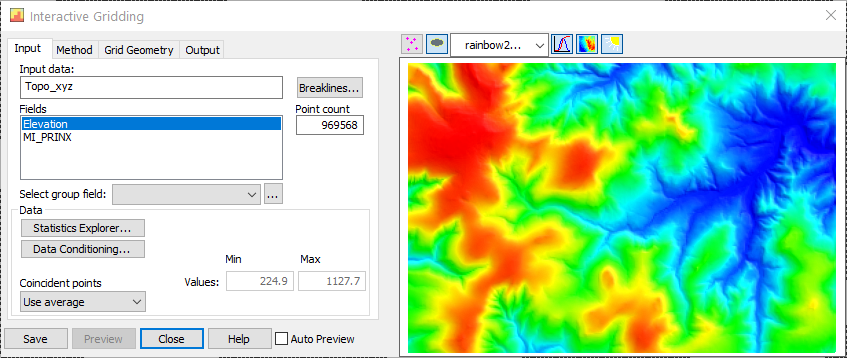
We can change the color by selecting it from the color chooser. Next, click Method tab to change the gridding method. In this example, I use Triangulation.

Next, we are going to define the grid geometry. Please click the Grid Geometry tab and change the grid cell size there.
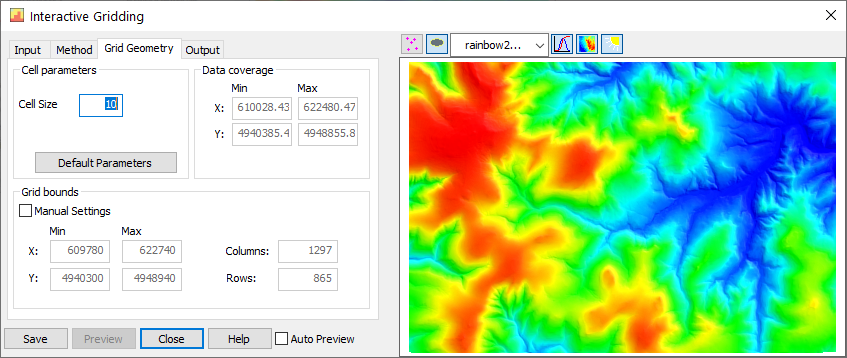
Play with the cell size. Because my point spacing is 10m, so I use 10 on the cell size. I can use any number bigger than 10 but this will produce a DEM with less resolution.
Finally, click the Output and choose the desired grid format. Mapinfo supports various grid formats such as Surfer binary grid (.grd), ER Mapper (.ers), Arc Ascii (.asc) and so on. In this case, I will save it as Surfer Binary Grid (.grd).

At this point, we have successfully create DEM from points in Mapinfo Professional.

How to Modify the grid colour
After creating the elevation grid (DEM), we may change the color and some other appearance settings. From the Surface tab, click Colour Grid icon. The Colour Grid window will open up where we can change and adjust some settings such as:
- Choose colour table (lut)
- Change colouring methods (Linear stretch, Histogram equalization and more)
- Adjust the sun shading and add sun highlights

I think that’s all. Please let me know if I miss something or if there are any questions you may have. Thank you for reading this how to create DEM from points in Mapinfo Professional.

Import Elevation Grid on Leapfrog Geo 6.0 | GIS Tutorial
November 21, 2020[…] How to create DEM from points in Mapinfo Professional […]
How to Assign Elevation from a DEM in QGIS - GIS Tutorial
October 23, 2023[…] At this point, I assume you already had the DEM that we will use. We can also build a DEM from data points. Please read this article to build a DEM from points. […]