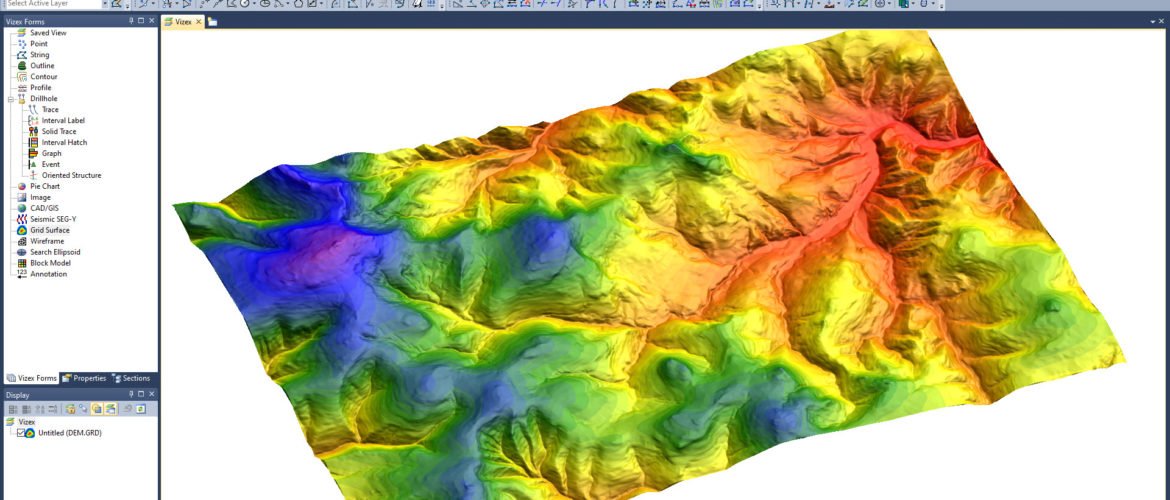
Hello everyone, it’s been a while I am not updating my Micromine tutorial. I am kind of busy with some other things. So today, we are going to learn how to import the elevation grid in Micromine. In this case, I have a topography file in my LeapFrog project. I am going to export the LeapFrog topography into my Micromine project. There are several ways to do this. We can directly export the topography into Micromine format. I will show you how to do that next time.
Micromine supports many kind of grid formats. For example, you can import ASC, GRD, BIL, ERS, TIFF and many more. So depends on the elevation grid you might have, Micromine should support that.
Steps to Import Elevation Grid in Micromine
First, prepare the elevation grid we want to import. You may want to take a look at how to create an elevation grid from points in MapInfo. Now, let’s open Micromine. In this example, I use Micromine 2013. It’s a bit old but still usable today.
Go to File >> Import >> Grid (raster)

Specify the input and output file. The input file is the grid that we are going to import to Micromine. Click Run to start the process.
That’s it. Thanks for reading this how to import elevation grid in Micromine. See you on the next tutorials.

