Hillshade is a great way to visualize topography data. ArcGIS Pro comes with a built-in feature that can be used to generate hillshades. If you have a DEM, DSM, or any other topography data, you can easily create a hillshade using ArcGIS Pro. In this article, we will learn how to display DEM data into a hillshade in ArcGIS Pro. This article explains hillshade in a simple but comprehensive way.
Why We Need Hillshade
Hillshade is a crucial cartographic technique employed in geographic information systems (GIS) and mapmaking. It simulates the play of light and shadows on a terrain model, creating a visual representation that mimics the three-dimensional surface of the Earth. This technique utilizes elevation data to calculate the angle and intensity of sunlight falling on the landscape, resulting in a grayscale image where steep slopes appear shaded, while flat areas remain bright.
The benefits of using hillshade are manifold. Firstly, it enhances the visual appeal of maps, making them more intuitive and easier to interpret. Hillshaded maps provide a sense of depth and perspective, aiding in terrain analysis and orientation. Moreover, hillshade maps are invaluable for land use planning, environmental assessment, and outdoor activities like hiking and navigation, as they offer a realistic depiction of topography, helping users better understand the terrain they are dealing with.
How to Create Hillshade
To create a hillshade, we can use the shaded relief symbology. Or, we can also use the geoprocessing tool. The second way needs a valid ArcGIS Pro license, along with a valid license for either a Spatial Analyst or a 3D Analyst. These powerful tools enable you to create stunning hillshade visualizations with ease. With its simple interface and advanced algorithms, you can seamlessly generate detailed and realistic shaded relief representations.
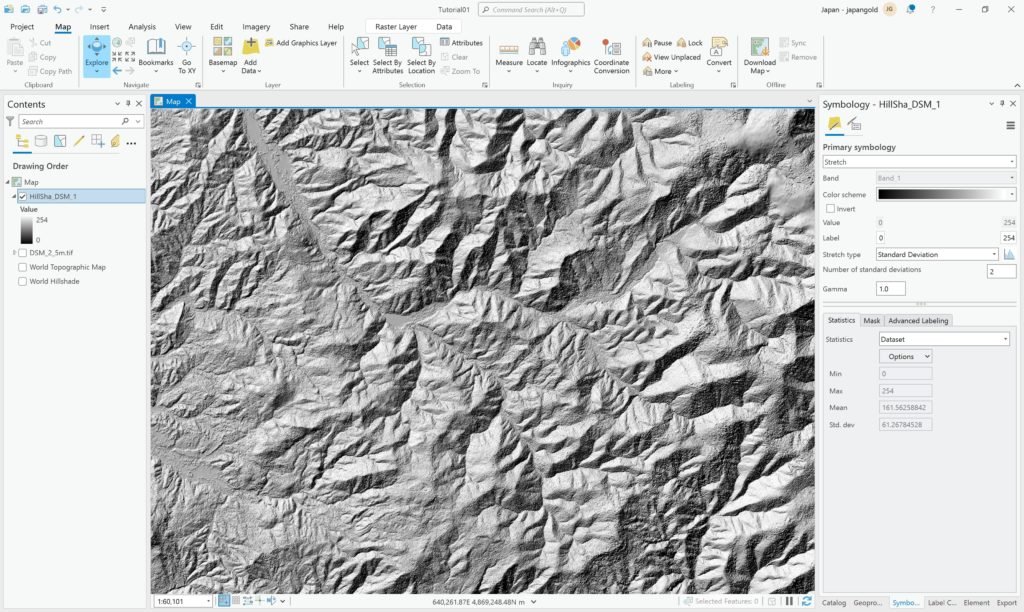
The final result will look like this

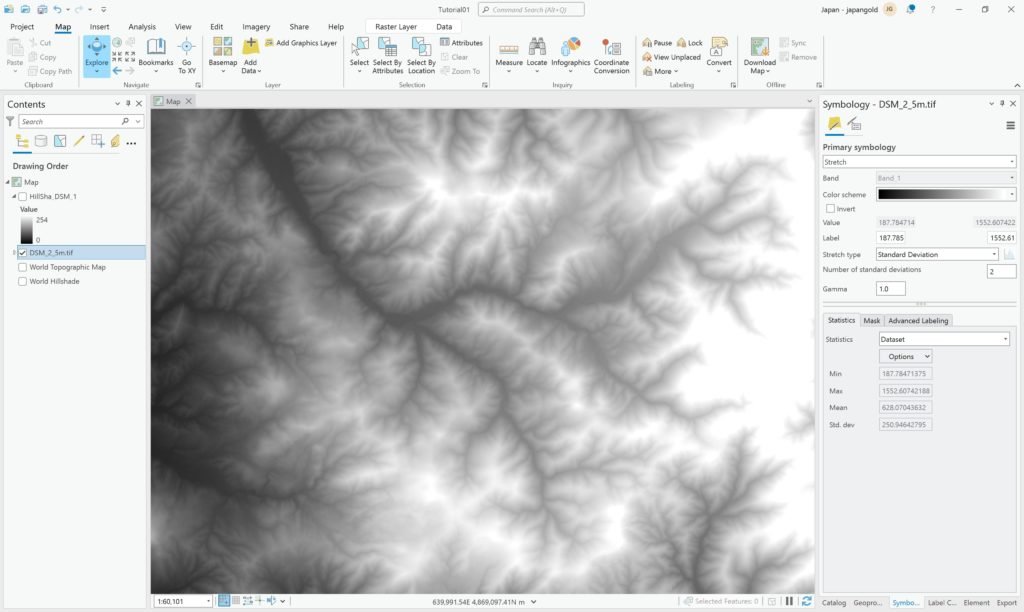
As you can see we can see the relief of the topography clearly. In order to create a hillshade, we need a DEM or topography raster. If you don’t have a DEM, you can read how to create DEM from your contour or elevation points data.

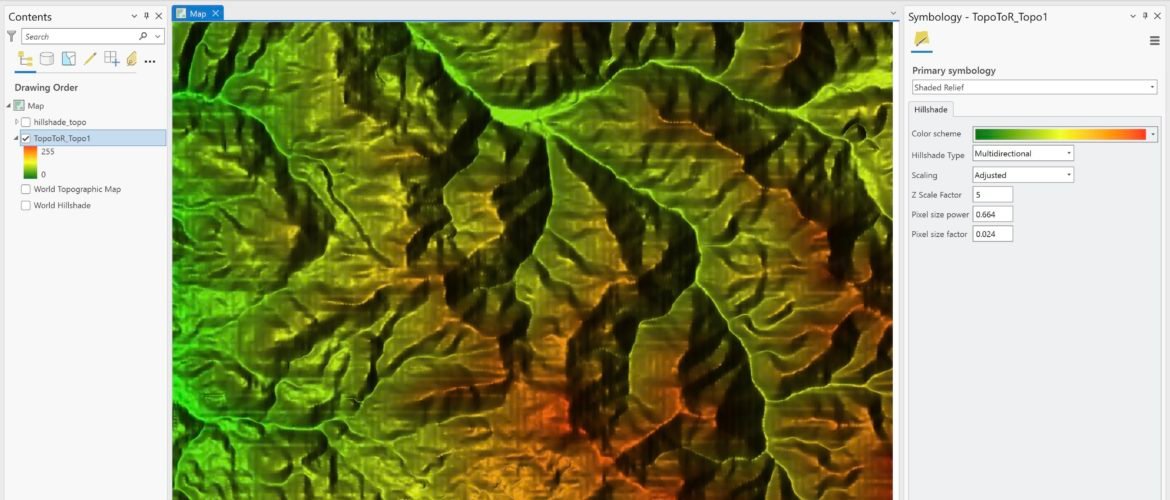
Open the DEM topography on ArcGIS Pro. Then, right-click the DEM layer and choose symbology. Change the Primary Symbology to Shaded Relief.

We can choose the color scheme, hillshade type, scaling as well and Z scale factor.
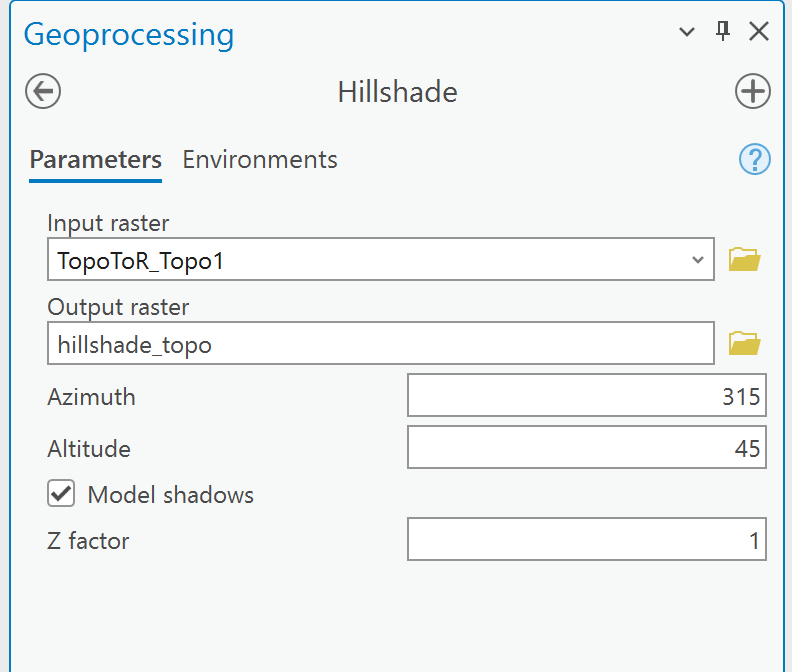
We can also use the Hillshade geoprocessing tool called Hillshade. Go to the Geoprocessing panel and search for Hillshade.

Specify the input and output raster, azimuth, altitude, and Z factor. Click Run to start the process.

