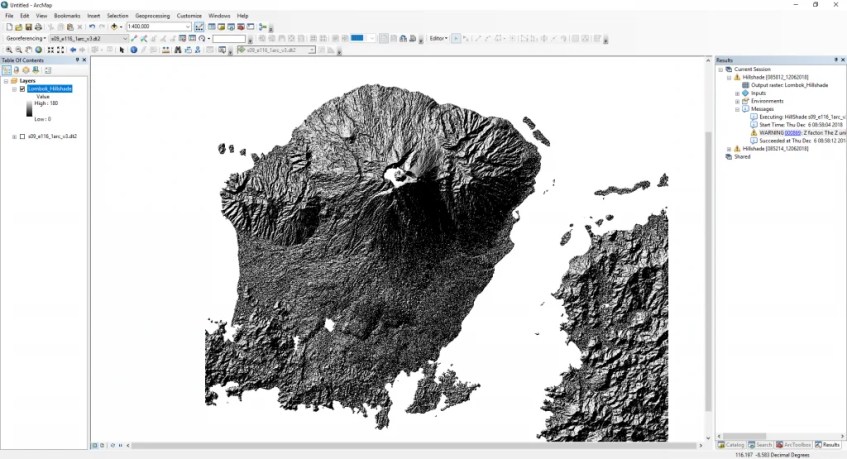
Hello, welcome to ArcGIS Tutorial for Beginners. In this tutorial, we are going to learn about how to create hillshade raster from SRTM on ArcGIS 10.6. Hillshade is a shaded relief from a surface layer considering the illumination source angle and shadows. We can easily generate hillshade from SRTM data in few clicks. So you will end up with the following kind of result:
Steps to create Hillshade from SRTM on ArcGIS
First, open the SRTM data to ArcGIS. You can follow the tutorial here to download the SRTM data from the free online service. Next, open Toolbox and find the tool “Hillshade”. This tool is located under Toolbox | Spatial Analyst Toolbox | Surface | Hillshade.
You must fill in or choose the following parts:
- Input raster ==> This should be your SRTM file
- Output raster ==> The output hillshade file
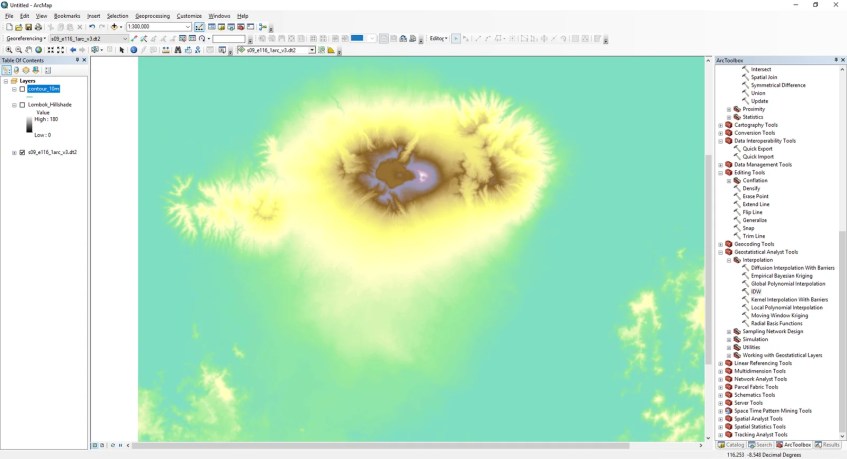
You can also set other optional settings such as azimuth, altitude and Z factor. Hit OK when ready. So at the end, you will turn this SRTM data
Into this one
Thank you for reading this article. I hope you enjoy it and see you in the next tutorials.


