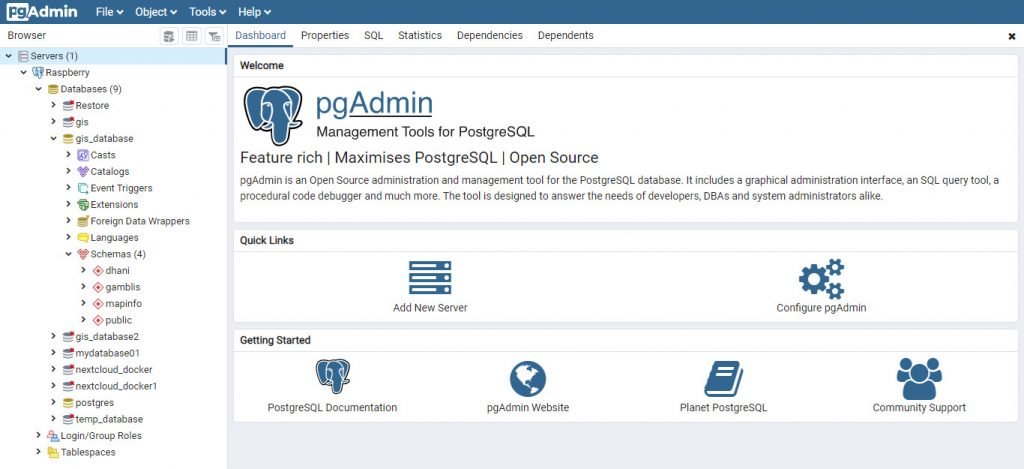
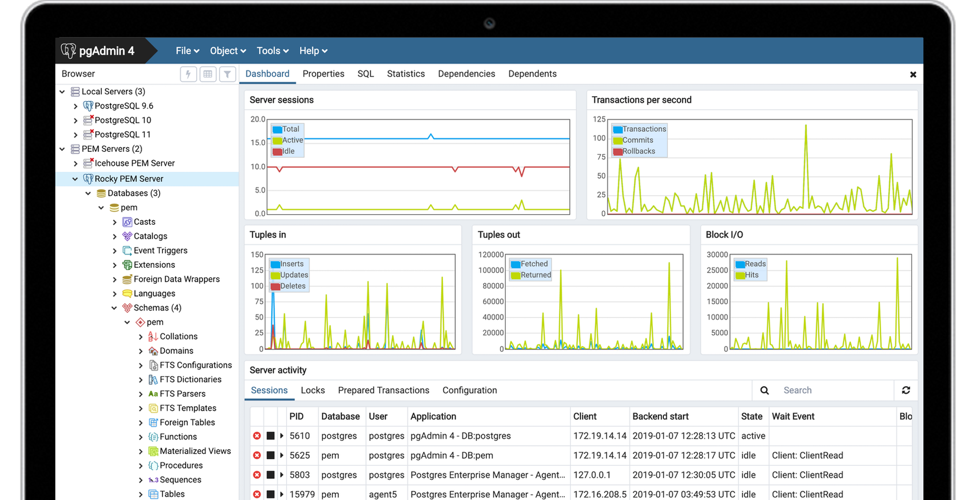
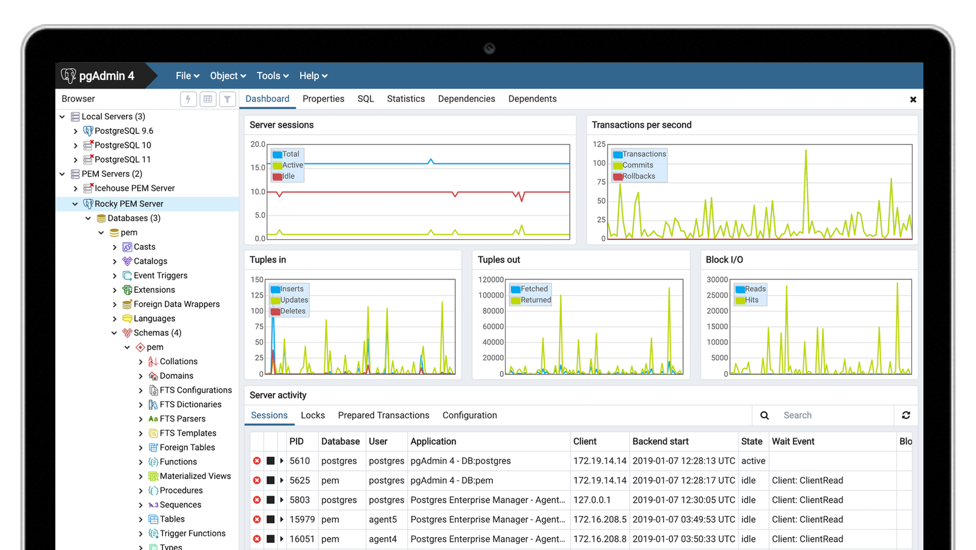
PgAdmin 4 is a free, powerful PostgreSQL tool for administrator. This web based PostgreSQL client tool comes with many great tools such as server manager, query tool, export and import, extension manager and many more. This tutorial will show you how to install the latest PgAdmin 4 on Windows 10.
PgAdmin Features
- Free and Open source
- Multi-platform support. PgAdmin supports Windows, Linux and Mac OSX
- Web based, lightweight
- Relatively easy to use, even for a new user
- Multi PostgreSQL servers support.
- Import/Export tool
- Built-in schema, table and database manager
- Read more about PgAdmin
Steps to Install PgAdmin 4 on Windows 10
- Download the installer
- Double-click the pgadmin4-4.17-x86.exe
- Follow on-screen installation wizard
- Restart your computer if asked
Once the installation completes, you can open it from Windows menu. It will take a moment for the first run.
Add a New PostgreSQL Server to PgAdmin4
- Click Add New Server from PgAdmin main menu.
- Give a new connection name
- Click Connection tab and enter the PostgreSQL server details
- Press Save button to save the configuration
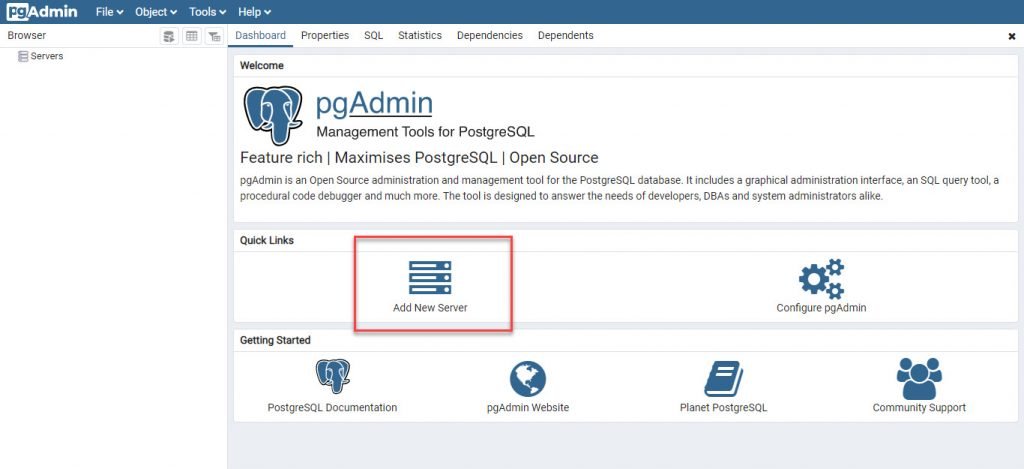

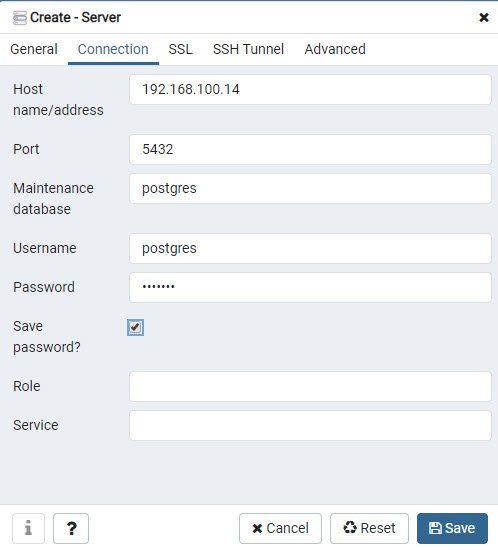
Once connected, you can now start managing your server.
