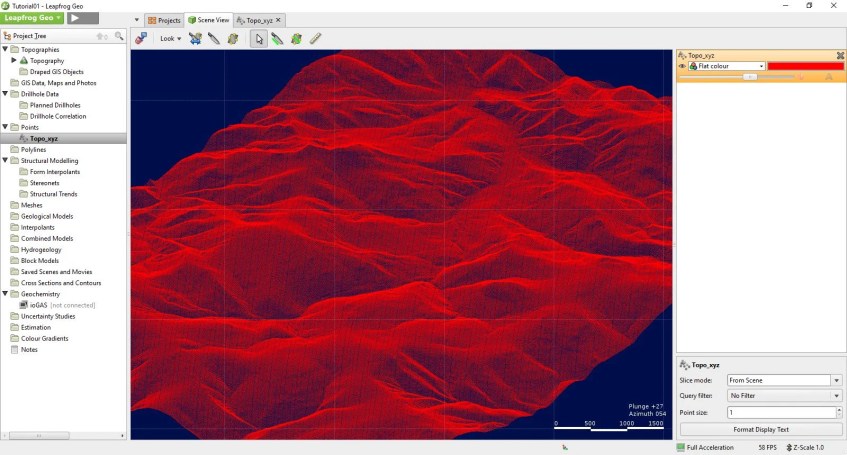
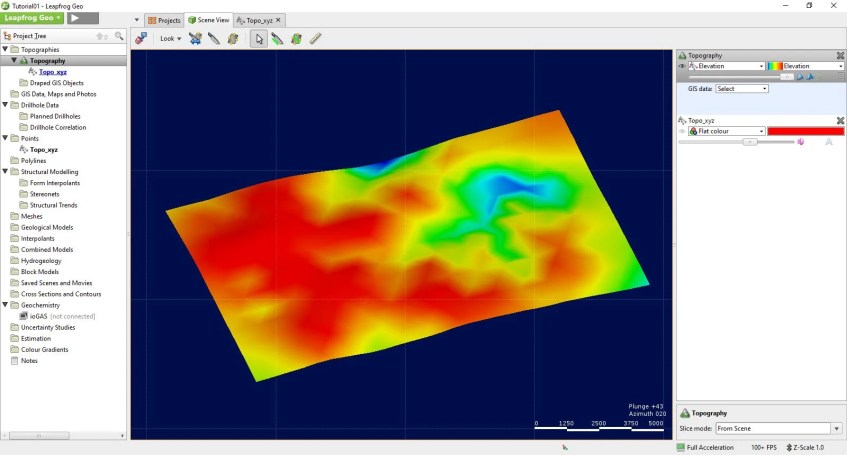
Hello everyone, welcome to the LeapFrog tutorial for absolute beginners. In this article, we will learn how to create Topography from the point data. There are several ways to create Topography in LeapFrog. In my previous article, you can read how to create Topography from the elevation grid. This method requires the elevation grid to be generated externally. Actually, LeapFrog is also capable to generate the Topography directly from the point data.
Prerequisites
For this purposes, we will need the following as our data source:
- CSV file containing the X, Y and Z values for the topography
You can also get the point data from other sources such as the ODBC database. Read how to import points from the ODBC database in LeapFrog.
Steps to Create Topography from Point Data in LeapFrog Geo
Step 1. Import the Point Data
If you have CSV data file, you can import it to LF by right-clicking the Points >> Import Points. Navigate to your CSV file

Specify which columns you want to import and press Finish. Check the point data and try to display it in LF.

Step 2. Create the Topography
So now we are ready to create the Topography. Right-click Topographies and then choose New Topography >> From Points. Now select the points we created earlier.

You may see multiple points available if you have more than one data point in the project. Click OK and then give a new name for the new Topography. Wait until the process is completed.

This process will take longer if you have wide area.

Step 3. Display the New Topography
Once the interpolation process is finishes, drag the Topography to the LeapFrog window to view.

You may notice that the new Topography is pretty rough and not too detail. If this is the case, we can adjust the Topography to change some interpolation settings.
Step 4. Adjust the Topography
Right-click Topography we created earlier and then choose Adjust Surface. The Edit Topography window will open up. Here we need to adjust the Surface Resolution.

As you can see, the default Surface resolution was 900. Now I will change this to 10 because my data point was 10m spacing. You can play around with this depends on your data.

You may also want to try the Adaptive option which will enable Leapfrog to automatically adapt to the data. Click OK and wait. Now, we have a more detailed topography.

For more information about Leapfrog, please visit the official website below.
https://www.seequent.com/products-solutions/leapfrog-geo/
