
Hello everyone, welcome to my GIS website. Today, I am going to show you how to install PostGIS on Ubuntu 18.10. PostGIS is a must have spatial extension for PostgreSQL. This extension will enable us to store spatial data in PostgreSQL database. Modern GIS software such as QGIS, ArcGIS, Global Mapper and MapInfo Professional supports PostGIS. I have some tutorial to install PostGIS on several operating system. You may check them here. So, in this tutorial I am going to install PostgreSQL version 9.6 (provided by EnterpriseDB) and then install PostGIS extension. Let’s start.
Steps to install PostGIS on Ubuntu 18.10
Step 1. Install PostgreSQL on Ubuntu 18.10
First, let’s download the EnterpriseDB PostgreSQL installation file. You can simply click the link we provided below to download. For more options, please visit the EnterpriseDB website. There are several download options on the website.
https://get.enterprisedb.com/postgresql/postgresql-9.6.11-1-linux-x64.run
Save the file to your download directory. You will have a file: postgresql-9.6.11-1-linux-x64.run.
First, we need to make the file executable. Open Terminal and then cd to your download directory. For example:
cd ~/Downloads
And then use this command to make the file executable
sudo chmod +x postgresql-9.6.11-1-linux-x64.run
Now let’s install it.
sudo ./postgresql-9.6.11-1-linux-x64.run
Now the graphical installation wizard will open up. Follow the installation wizard by pressing Next button. In this case I leave all the default value except the password

Provide a password for user postgres. And then continue installation.
Step 2. Install PostGIS using StackBuilder
At the end of the installation, you will see the following option.
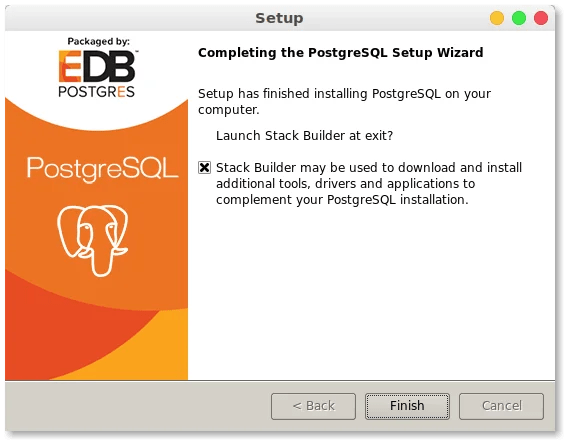
We are going to use this StackBuilder tool to install postGIS. So make sure you click that option and click Finish. In a few moments, the StackBuilder will open up.

On the first screen, select your PostgreSQL installation from the list and click Next.
 Now click the Spatial Extension button and enable the PostGIS 2.3 for PostgreSQL 9.6 xx option. Click Next.

Now the StackBuilder will download the PostGIS installation file to your Download directory. Hit Next and the download process will start. Once finishes, run it to install PostGIS. You will need to enter the postgres password you created earlier.

Wait until the installation process completes. At this point, we have PostgreSQL and PostGIS installed on Ubuntu 18.10.
Step 3. Create a new Database and enable PostGIS extension
PostGIS extension is specific to database. So, we need to enable it on every database we want to have the spatial extension. We will do this using PgAdmin. Open PgAdmin from your Ubuntu application menu. This software was installed together with the PostgreSQL installation on the step 1.

To create a new database, right-click the database on the left panel and then choose Create | Database. Enter your new database name and then press Save.
Create PostGIS Extension on the database
Right-click the extension on the new database and click Create | Extension. A new window will open up. Search for postgis from the list

Click Save and you are done. You can also create another extension such as postgis_topology if you want. Finally, check if your new postgis extension is listed as follow

Done. Thank you for reading this tutorial to install postgis on Ubuntu 18.10. I hope enjoy this tutorial and see you on the next tutorial.
[…] PostGIS is a great spatial database that supports various GIS applications such as Mapinfo Professional, Global Mapper, ArcGIS, QGIS and many more. In this article, I am going to show you how to export layer to PostGIS on Mapinfo Professional. I assume you already have a working PostGIS database that you can access. If not, you may want to read my previous tutorial on how to install and configure PostGIS database. […]
[…] Install PostGIS on Ubuntu […]
[…] Install PostGIS on Ubuntu […]
[…] Install PostGIS on Ubuntu […]
[…] Install PostGIS di Ubuntu […]