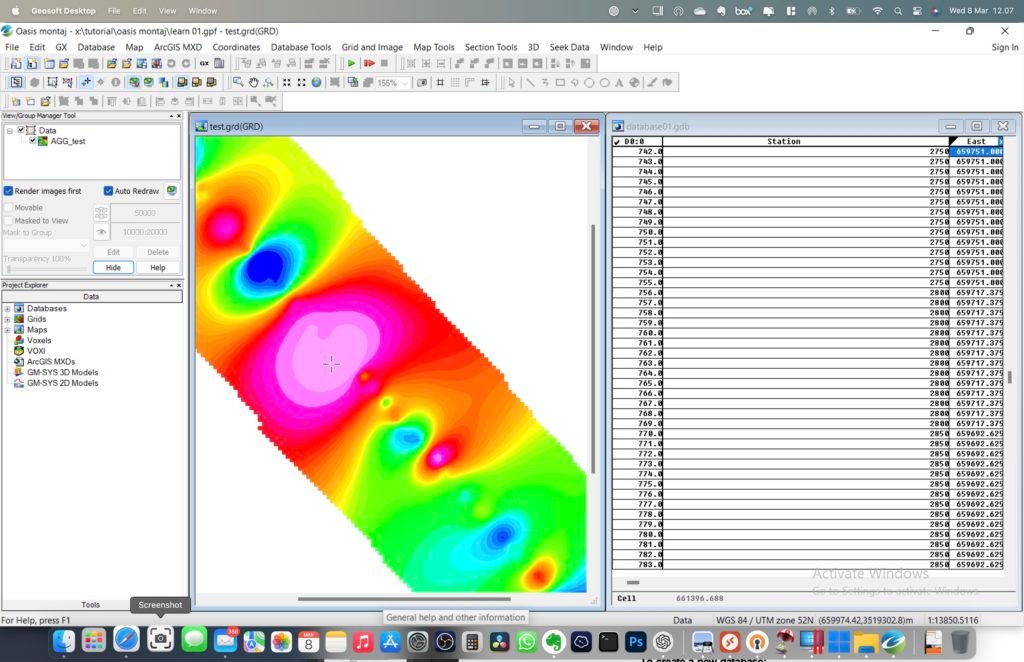
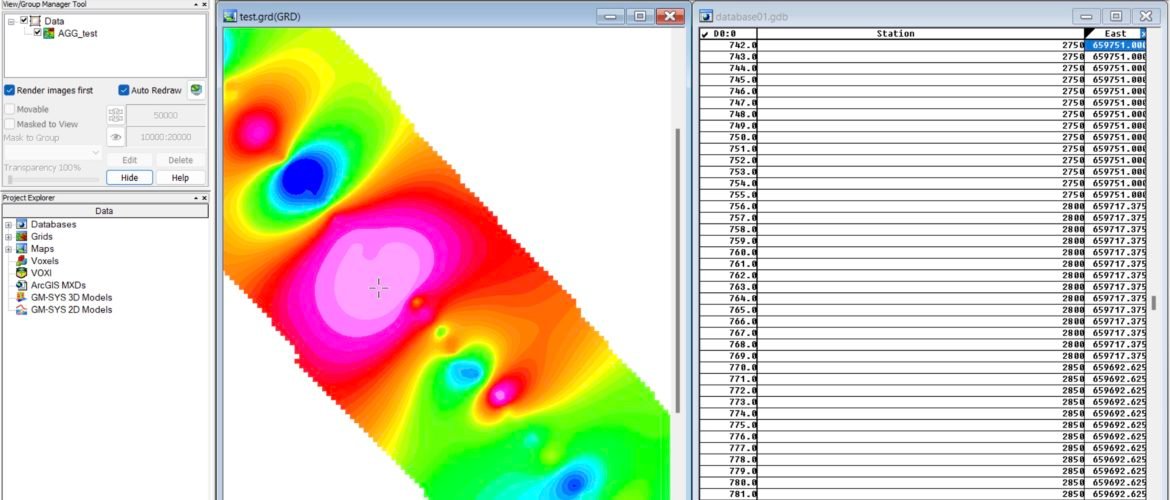
Are you a Mac user but want to run Oasis Montaj on your M1 Mac? Well, here I want to share a workaround on how to run Oasis Montaj on M1 Mac. Look no further! In this blog post, we’ll guide you through the steps to install Oasis Montaj on your Mac computer. With our easy-to-follow instructions, you’ll be up and running with this powerful software in no time. Whether you’re a geoscientist, engineer, or researcher, Oasis Montaj offers a suite of tools to help you analyze, visualize, and interpret geophysical data. So, let’s get started and unlock the full potential of Oasis Montaj on your Mac!
In this article, I am using Macbook Pro M1 with Apple Silicon. Please take note that we are going to use Parallels Desktop to run Windows 11 ARM as a virtual machine. Even though this is the ARM architecture, it can run x86 software such as ArcGIS Pro 2.9 as well as Leapfrog Geo. This workaround should work as well on M2 Macs.

This program works very well, even on a Virtual Machine. All the features/modules are active and can be used. It’s a surprise because basically this program was designed to run on x86 Windows edition, not the ARM version.
Steps to Run Oasis Montaj on M1 Macs
- Download Parallels Desktop for Apple Silicon Mac
- Install Parallels Desktop
- Download and install Windows 11 ARM on Parallels Desktop
- Update Windows 11
- Download and install Oasis Montaj using the official installer
- Run Oasis Montaj
Those are the main steps that we need to take in order to run Oasis Montaj on M1 or M2 Macs. I have tested this to work on my Macbook Pro M1. Please share with us your experience installing Oasis Montaj on Mac by typing in the comment box below.

