Welcome to another QGIS Tutorial. In this article, I am going to show you how to create DEM (Digital Elevation Model) from a Contour layer using QGIS. These will be pretty long steps but I think it is worth your time. We will use the GRASS tool in order to create the DEM. GRASS is a free additional tool that we can easily install into QGIS.
Steps to Create DEM from Contour in QGIS
We will need a contour layer that has the elevation column in it. So make sure your contour layer has the elevation attribute before continuing. We will use this elevation column to process the DEM.
Steps 1. Install GRASS plugin
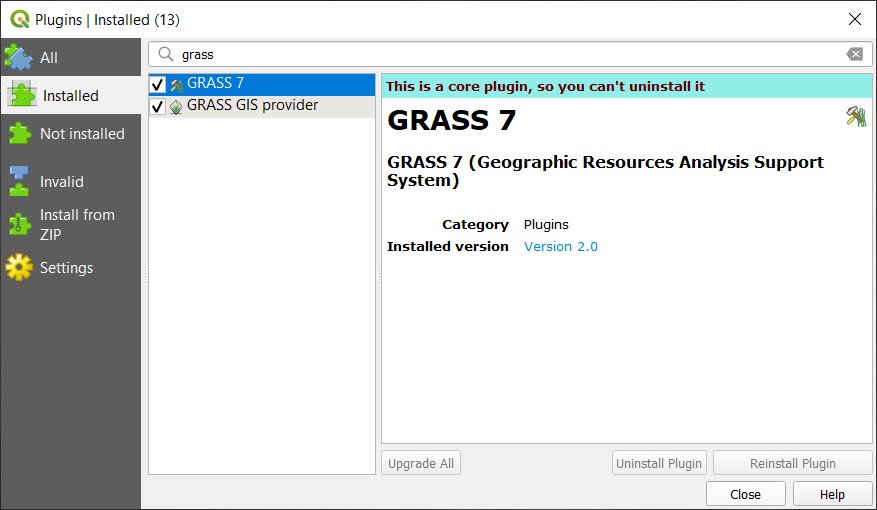
Go to Plugins >> Manage Plugins and then search for GRASS. Install the GRASS plugin if you don’t have it. This plugin provides various ways to analyze both vector and raster data.
Step 2. Create a new Mapset
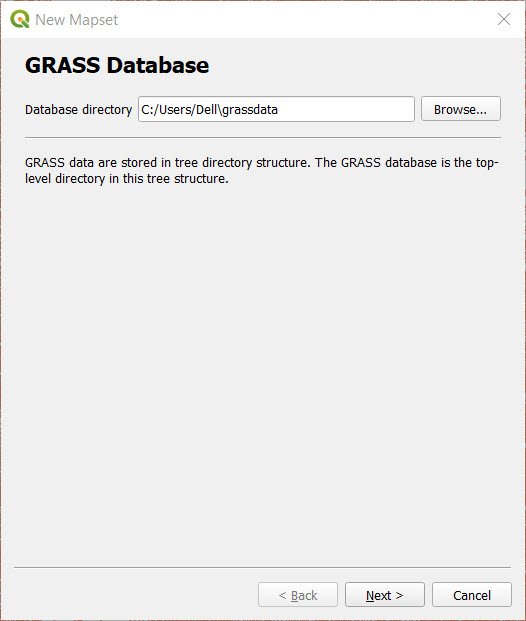
Load or open the contour vector layer into the QGIS canvas. And then we need to create a new Mapset. Go to Plugins >> GRASS >> New Mapset. The wizard window will open up. On the first step, leave it as is but you are free to change the location if you wish.
Click Next and then we need to create a new location. I will call this new location as location2
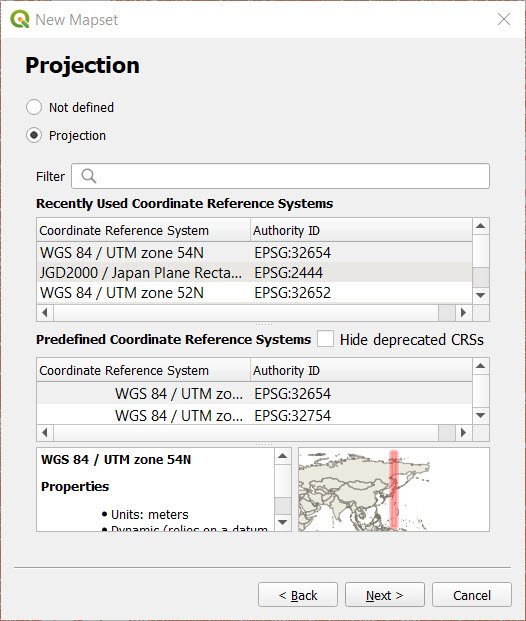
Now we need to define the projection of our new mapset. Please make sure you choose the correct projection and it has to match the Contour layer projection.
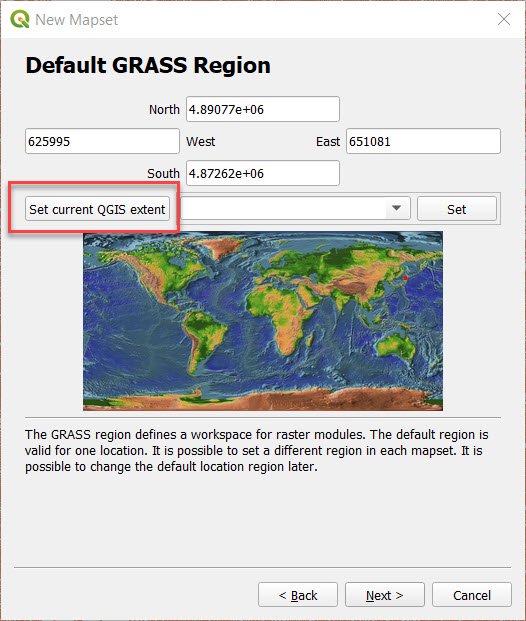
Next, we need to specify the default GRASS region/extent. It is good to zoom in the canvas so we can see all the contours and then press Set current QGIS extent.
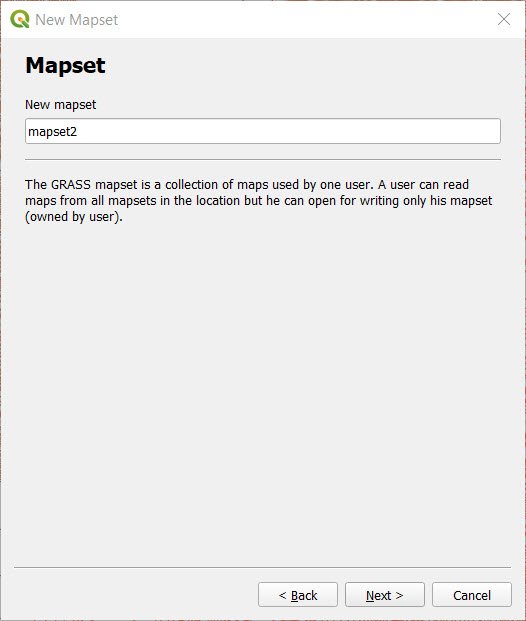
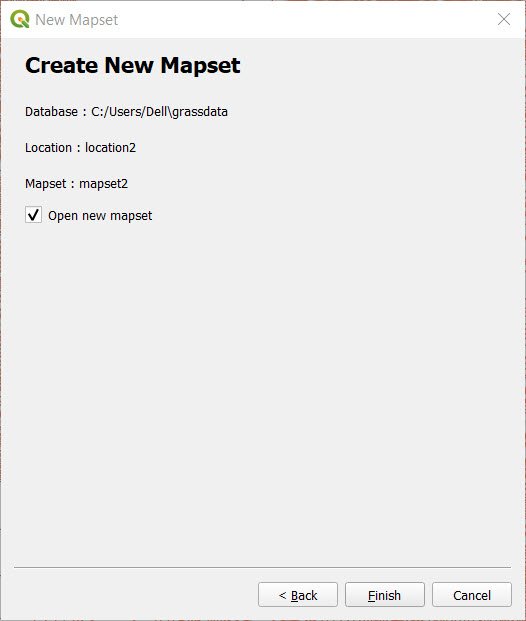
The next step is to give a new name for our mapset.
Click the Finish button and make sure you check the options shown below
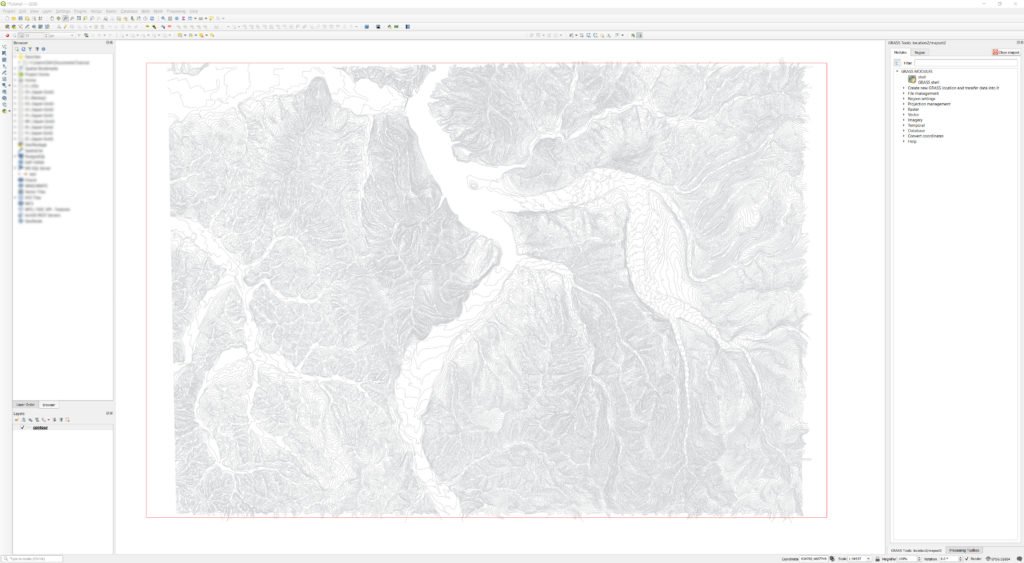
Now you should see a red rectangle on the canvas as shown below and also you will see the GRASS mapset on the right side of the QGIS window.
Step 3. Modify the region
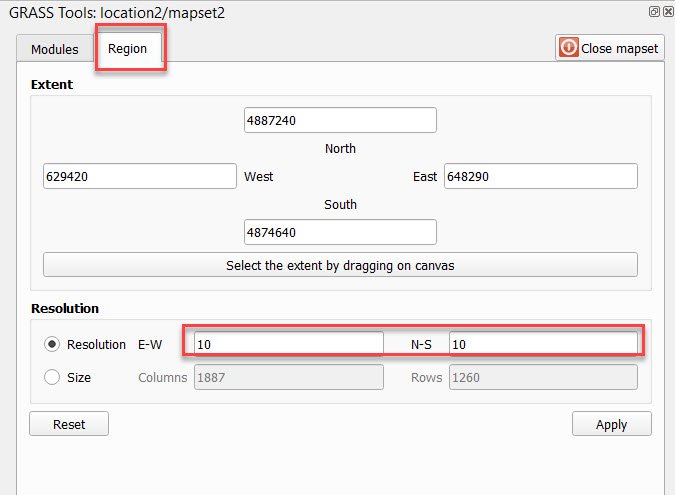
In this step, we will need to fine-tune our region, and also the DEM resolution. In this example, I am going to use 10 resolution for my DEM. Click the Region tab on the GRASS mapset. Click the “Select the extent by dragging on canvas”. And then drag the extend on the canvas and make sure it covers all the contour extent. Do not leave empty spaces. And then change the resolution manually if you want.
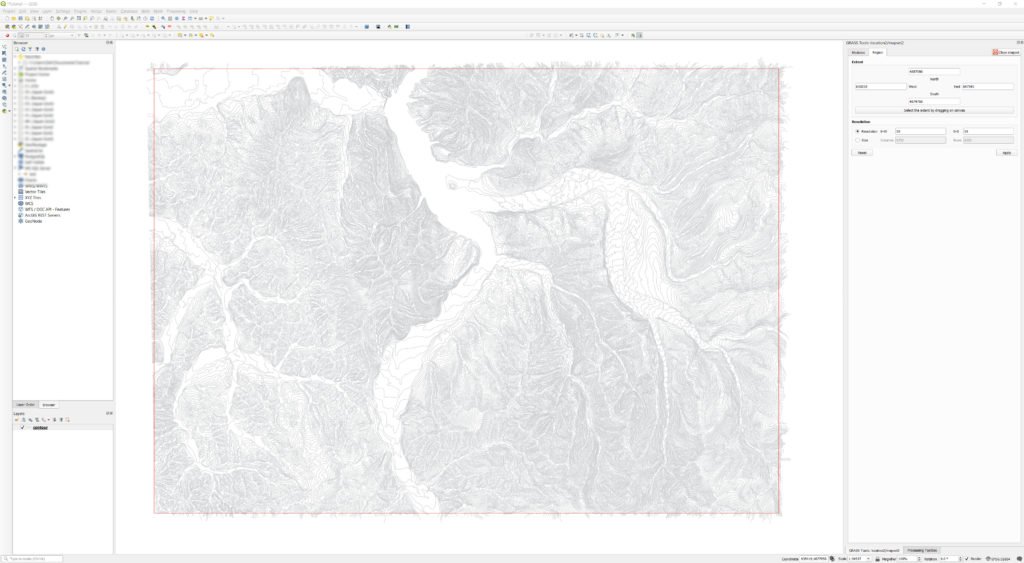
Note: Sometimes we have to manually adjust the coordinate to achieve the desired resolution. Click Apply to complete this step. Now my region looks like this.
As you can see now the red rectangle nicely covers my contour and no blank space is wasted.
Step 4. Import Vector into GRASS
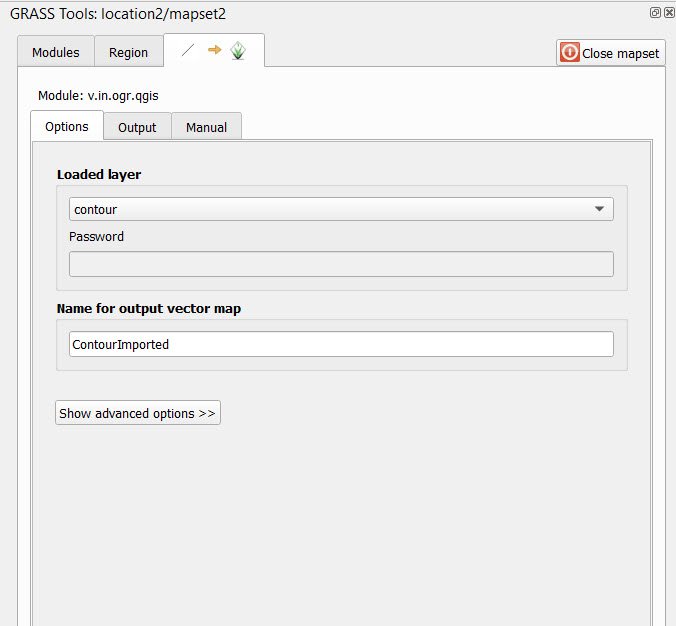
In this step, we will import our contour layer into the GRASS workspace. We will use Import loaded vector module. We can use the search box to find this module.
Give the loaded contour a new name and then click Run.
Click the View Output button to see the result in the canvas.
Step 5. Convert vector to raster
Now we need to convert the contour into a raster using the module called: v.to.rast.attr.

Choose the layer from the previous step and also choose the column/attribute field that contains the elevation. Give the new raster name and press Run.
To see the result, press the View Output button. This is the result we should get in this step.
Step 6. Create the DEM
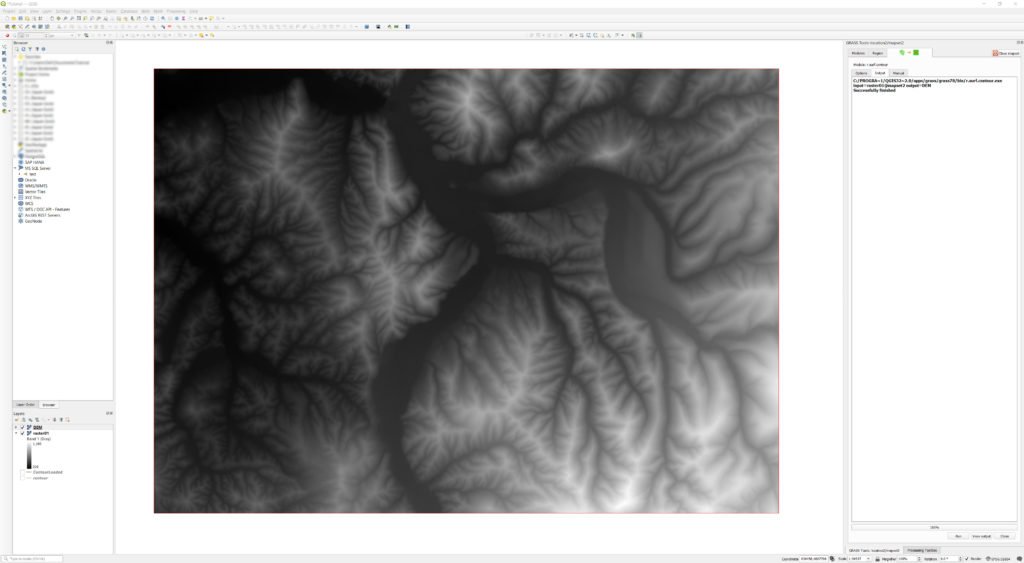
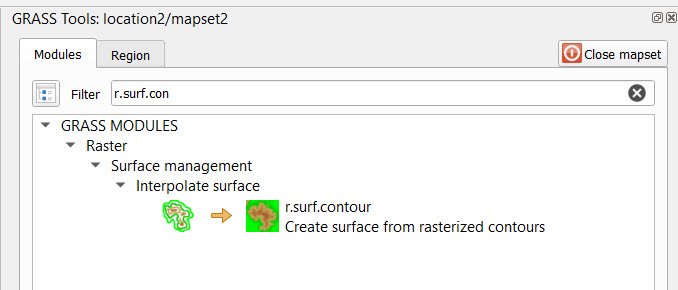
Finally, we are on the last step of this exercise. The last thing we need to do is to convert the raster from the previous step. We will use the module called: r.surf.contour. This module will convert contour to raster.
Next, we need to specify the raster input containing contours. This should be the raster we created from step 5 above.
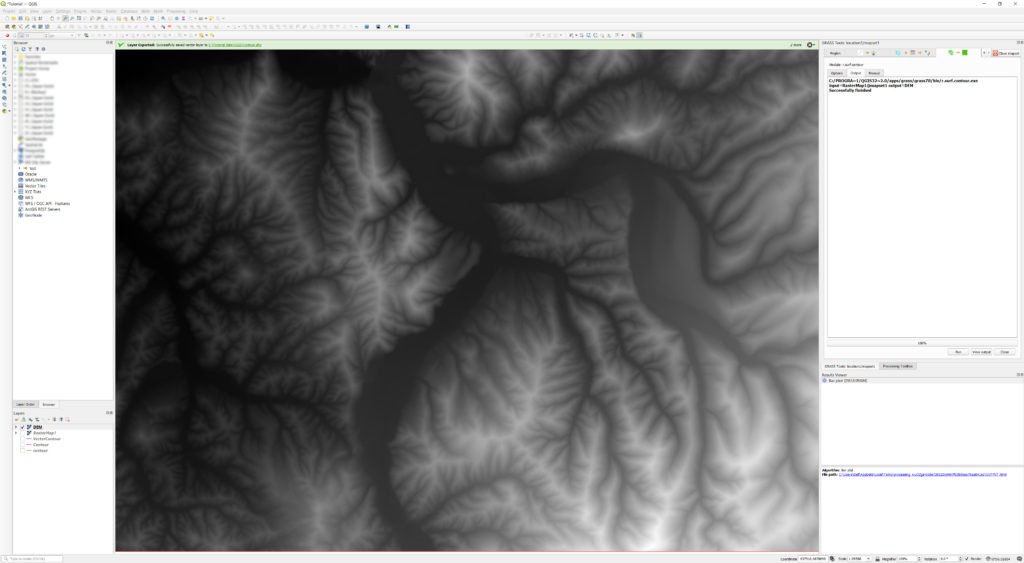
And then specify the output raster map or DEM. Click Run and View Output when done. Here is our DEM result we created from the contour layer.
Step 7. Save the DEM
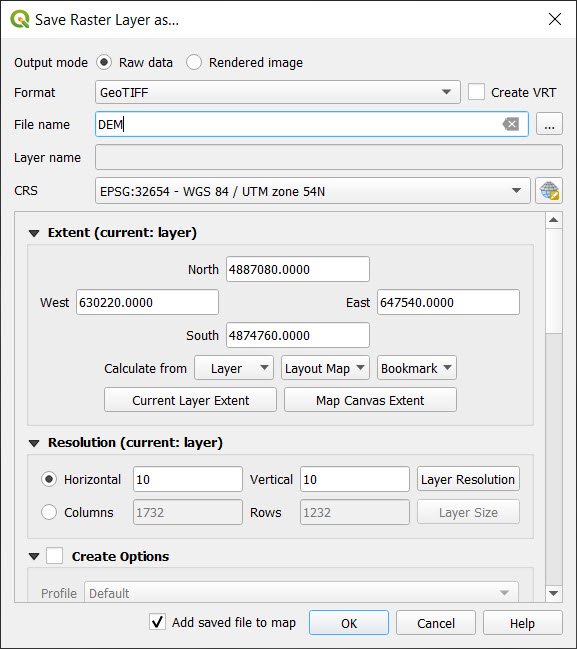
We can save the DEM into a file which then can be used in other software. Right-click the DEM layer and then choose Export >> Save As.
Select the Raw data on the Output mode, choose GeoTIFF as the format, and then give a new name and file location. Hit OK and we are done.
Thanks for reading this tutorial on how to create DEM from contour using QGIS. I hope this article is useful for you. See you at the next GIS Tutorial. Cheers.






Usha shrestha
December 8, 2022Hi,
I am trying to get DEM from the contour. In the selection of region in step 3, it states that leave no blank spaces. But for my case, the region of comtour is not exactly rectangular. How can I know adjust the region. I tried creating rectangular region which will have blank spaces. THis lead to very unrealistic contours in those area. Can you please kindl help me?
admin
December 9, 2022Hi, the region has to be rectangle. Please do as is. Once it is finished, you can use your own region to clip the DEM
QGIS quick howtos
December 20, 2022[…] vygenerovať DEM z vrstevníc (via GRASS […]