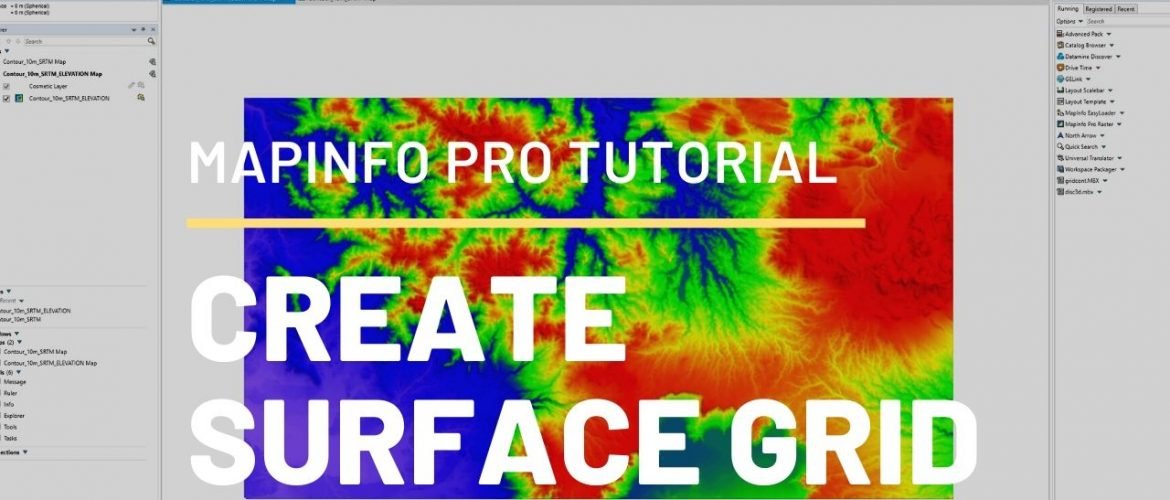
The following tutorial will guide you on how to create a triangulation grid from a contour layer in Mapinfo Pro. In the previous tutorial, I have shown how to create a surface grid from data points. This time is a little bit different but using the same method. So basically, we will turn this contour file

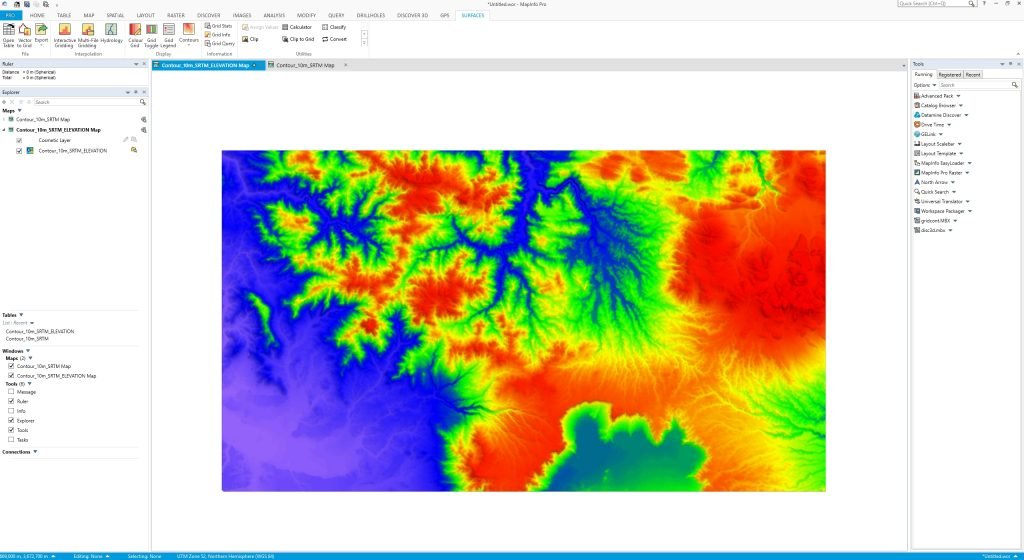
into this one
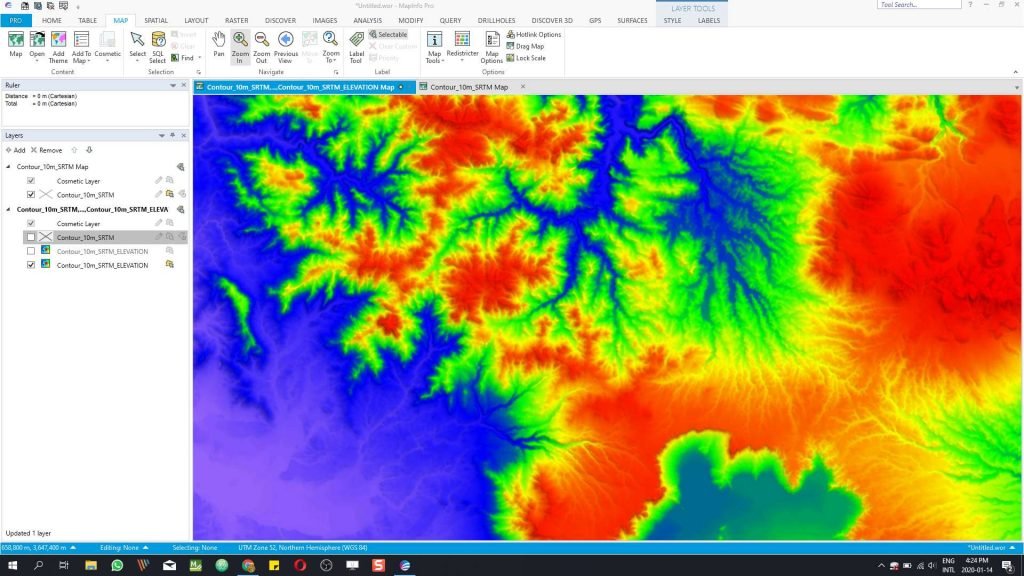
And then, when we have this surface grid, we can display it in MapInfo 3D as shown below

Steps to Create Surface Grid from Contour layer in Mapinfo Pro
Step 1. Prepare the contour file
First, open the contour layer to the MapInfo window. Make sure the layer has an elevation (Z) column. We will use this column to create the elevation grid.
Step 2. Open the Interactive Gridding Tool
We are going to use the Interactive Gridding menu. To open this tool, go to Surface >> Interactive Gridding. And then, select the layer we want to create a surface grid.
On the Input tab, specify the field that contains Z data such as elevation. Click the Preview button to see the result in the preview window.
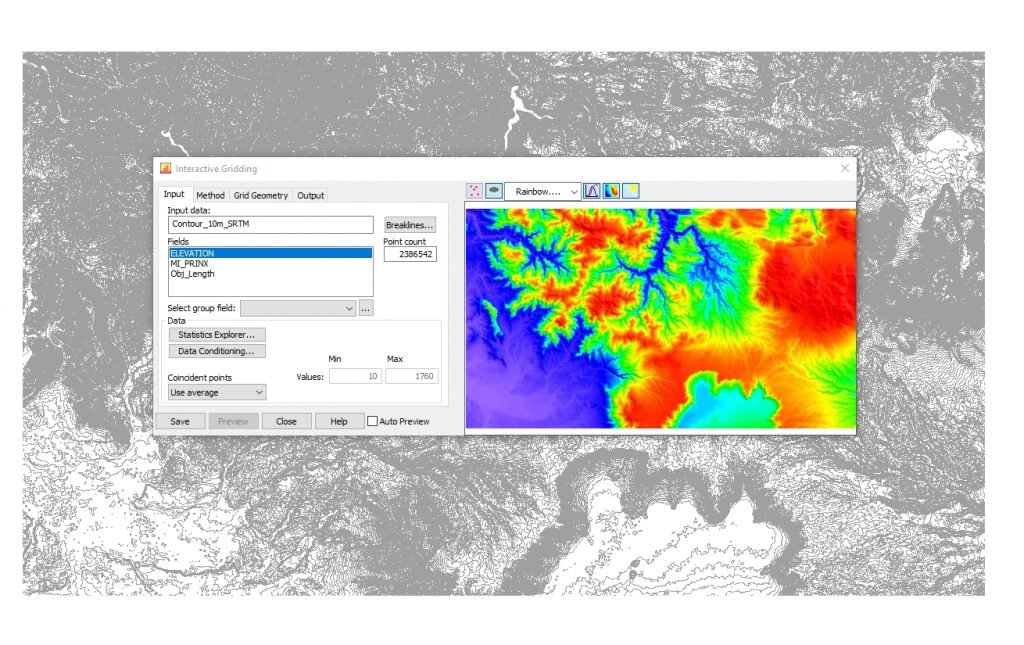
You can change the color set by clicking the color table. Now
Now click Method and select Triangulation on the Estimation technique. And then go to Grid Geometry and specify the grid size.

Next, go to the Output tab and specify the output grid format and name.
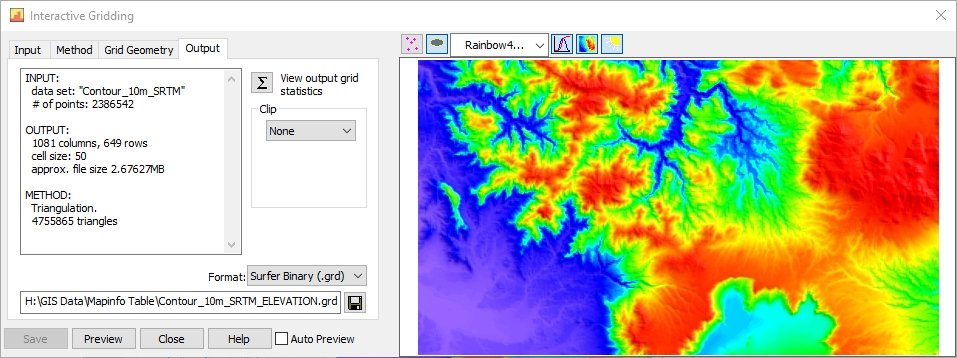
Click Save to save the grid file. In a few moments, the grid will be displayed in MapInfo.
You can watch the entire process of creating surface grid from a contour file on the following video
Thanks for reading this article on how to create a surface grid in MapInfo Pro. I hope you enjoy it and see you next.

