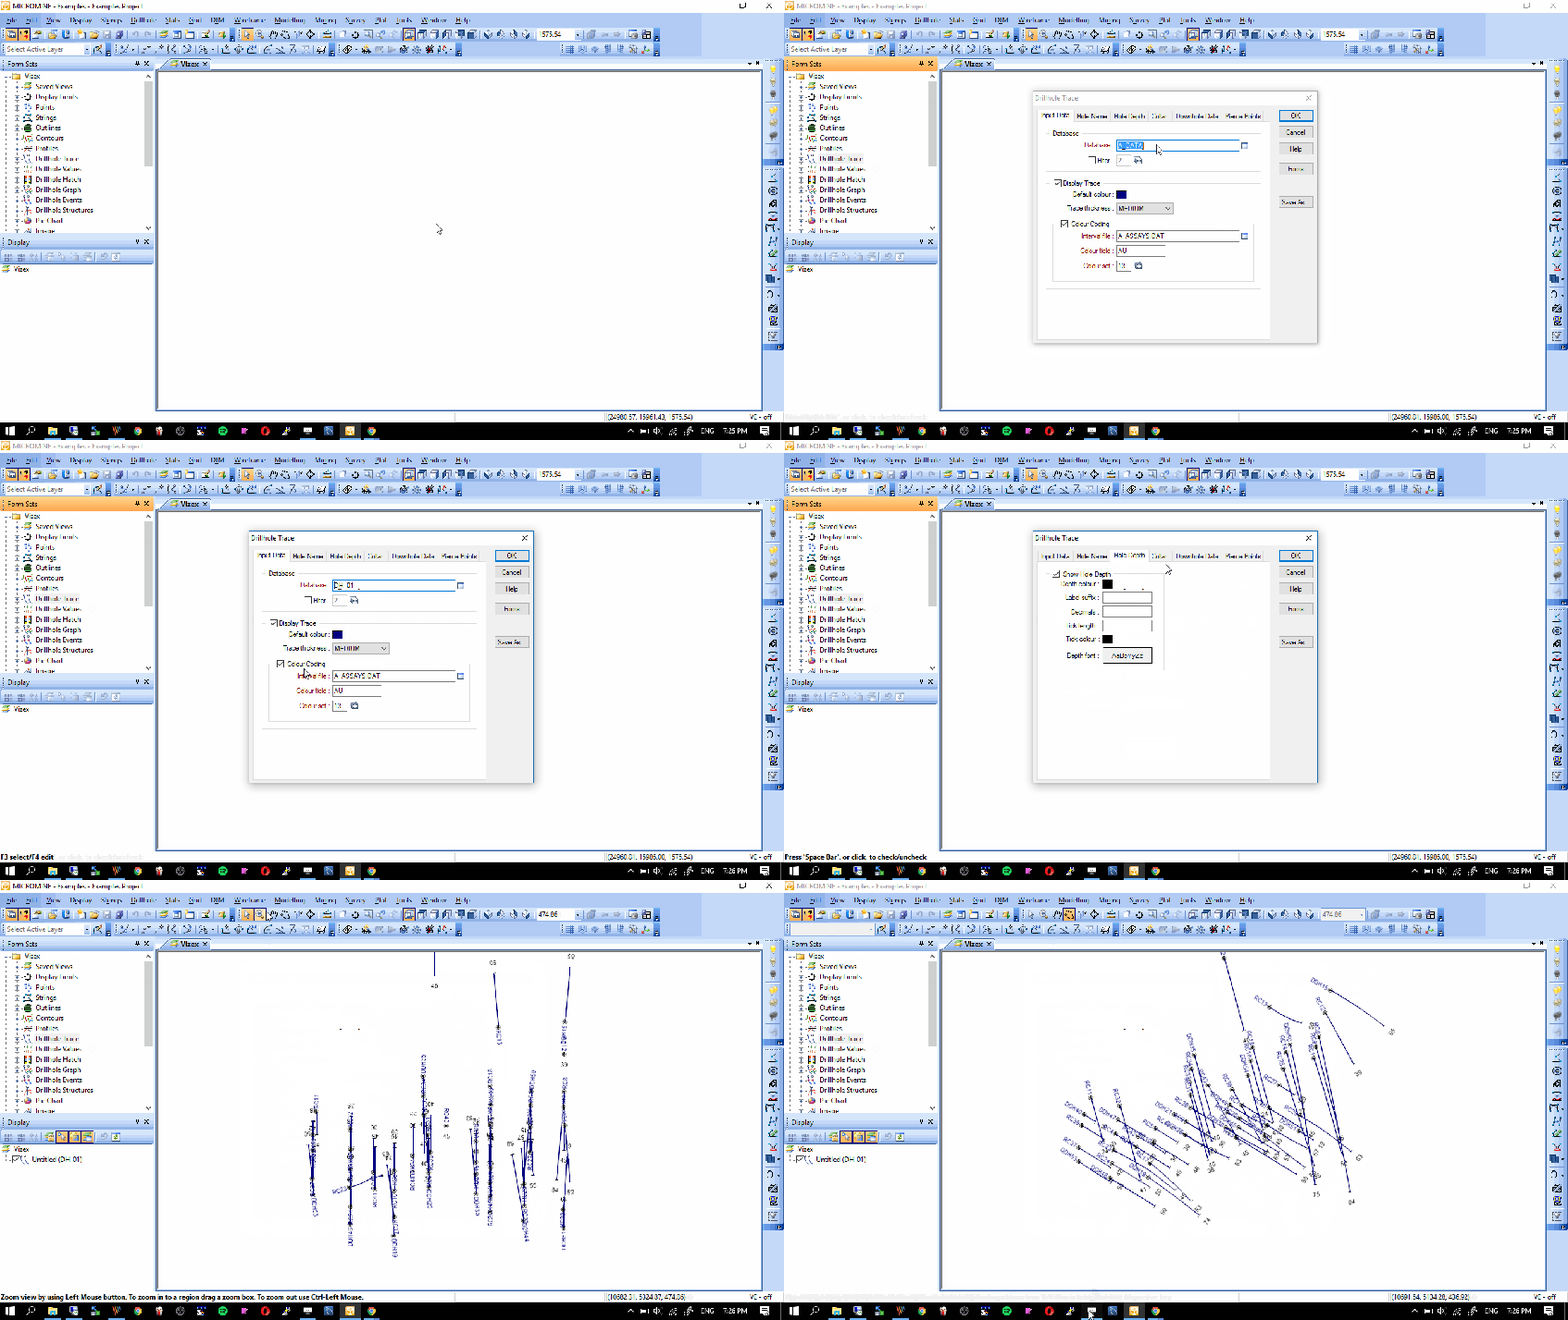
Hello everyone, welcome to another Micromine Tutorial. Today, I am going to show you how to create a new Drillhole database on Micromine. On this tutorial, I am using an old version of Micromine 11. If you are using newer version, you still can use this tutorial to create a new drilling database. A drilling database contains several data. Mainly, we need a collar data file and survey file. I would recommend you to download the Micromine Example data. I use this data on this tutorial.
A Drillhole Collar file must have the following fields or columns
- Hole ID
- East
- North
- Rl/Elevation
- Total Depth
While a Downhole Survey file must have the basic fields such as
- Hole ID
- Survey depth
- Azimuth
- Dip
With these two files, we can build a basic drillhole database. In this example, I use these two files to create a new drillhole database. A_Collar.data and A_Survey.data. Again, you can download this data from this link.
Steps to Create a New Drillhole Database
To create a new drillhole database, follow these steps.
- Go to Drillhole | Database | Create
- Select Drill Hole database
- Type the name of the new database
- Click Create
- Provide the Collar and Survey file
- Map the mandatory fields
- Click OK
The following gif image will give you a clear steps to create new drill hole database
Make sure there is no error. Next we can display the drill hole trace with this database. See the following video
That’s it. Thanks for reading this article.


