Welcome to QGIS Tutorial for Beginners. In this article, we are going to learn how to add a new column to a table in QGIS. In the other tutorial, you can see how to modify the table, add or remove a new column in Mapinfo Professional. It is pretty easy to add columns or fields in QGIS.
Step 1. Prepare the table
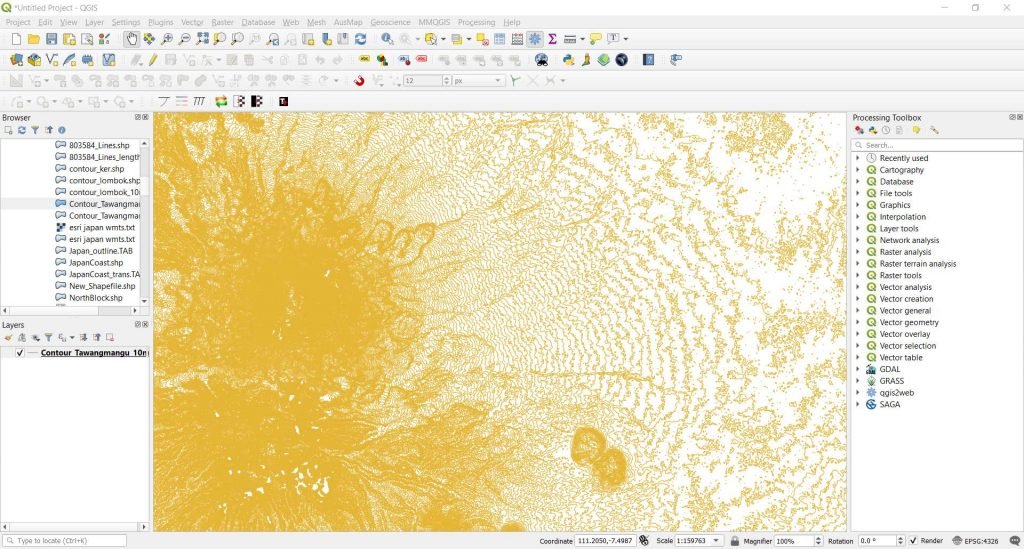
First, open the table or layer to QGIS canvas. You can open any QGIS supported files such as shapefile, Mapinfo Table, KML, GPX and many more.

Step 2. Add the new column
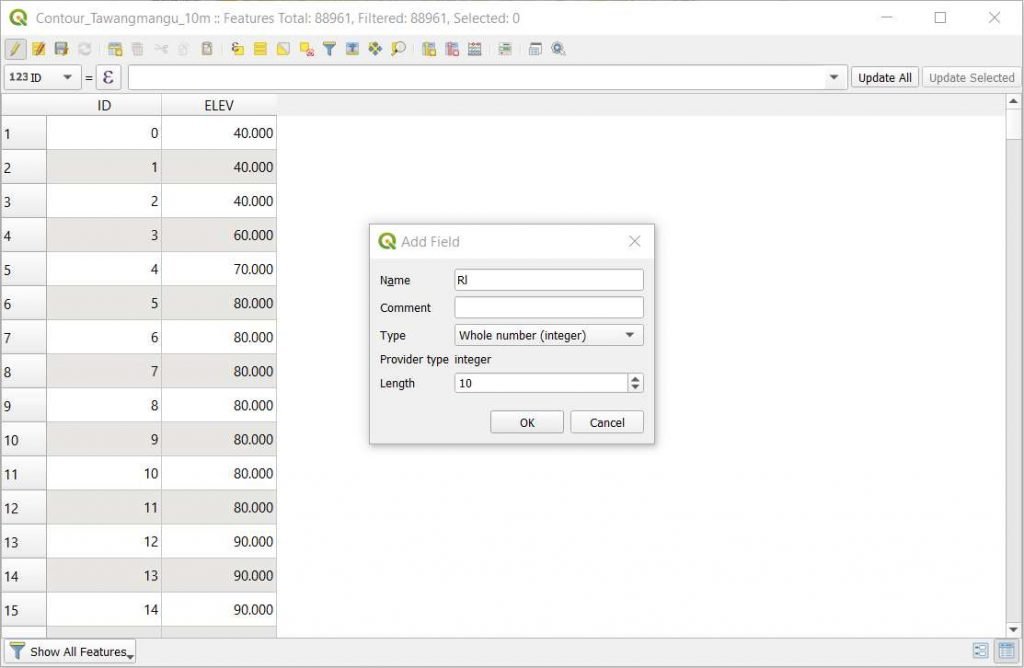
To add a new column to a table, right-click the table/layer and choose Open Attribute Table. You should see a new window opened containing the attribute data of your table. In order to add a new column, we need to enable the toggle editing mode. Click the pencil icon on the top left of the attribute data window.
Click New Field (Ctrl + W) to open the add new field.

Give the new field a name and choose the type as well as the length of the new field. Click OK.
Done. Now you should have a new column or field in your table. Click the Save Edits to save the changes.


Richard Freeman
August 27, 2020Thanks for making your resources available. I’m a noob with Quorum and I appreciate the guidance. This lesson is nicely detailed. I have one suggestion: graphically denote the “add new field” button (circled in red). For myself, I prefer the keyboard tip (thanks!!), but for mouse-oriented people (me sometimes), it would be helpful.